All in a Pickle
- Technique
Pickling, an easy and versatile preservation technique, is a great Segway into the wonderful world of home preserving. There’s no season where fruit and veggies can’t be turned into a sumptuous jar of sweet or savoury pickle. A common-place household art across the world, different cultures have developed signature variations, each showcasing unique flavours, colours and textures.
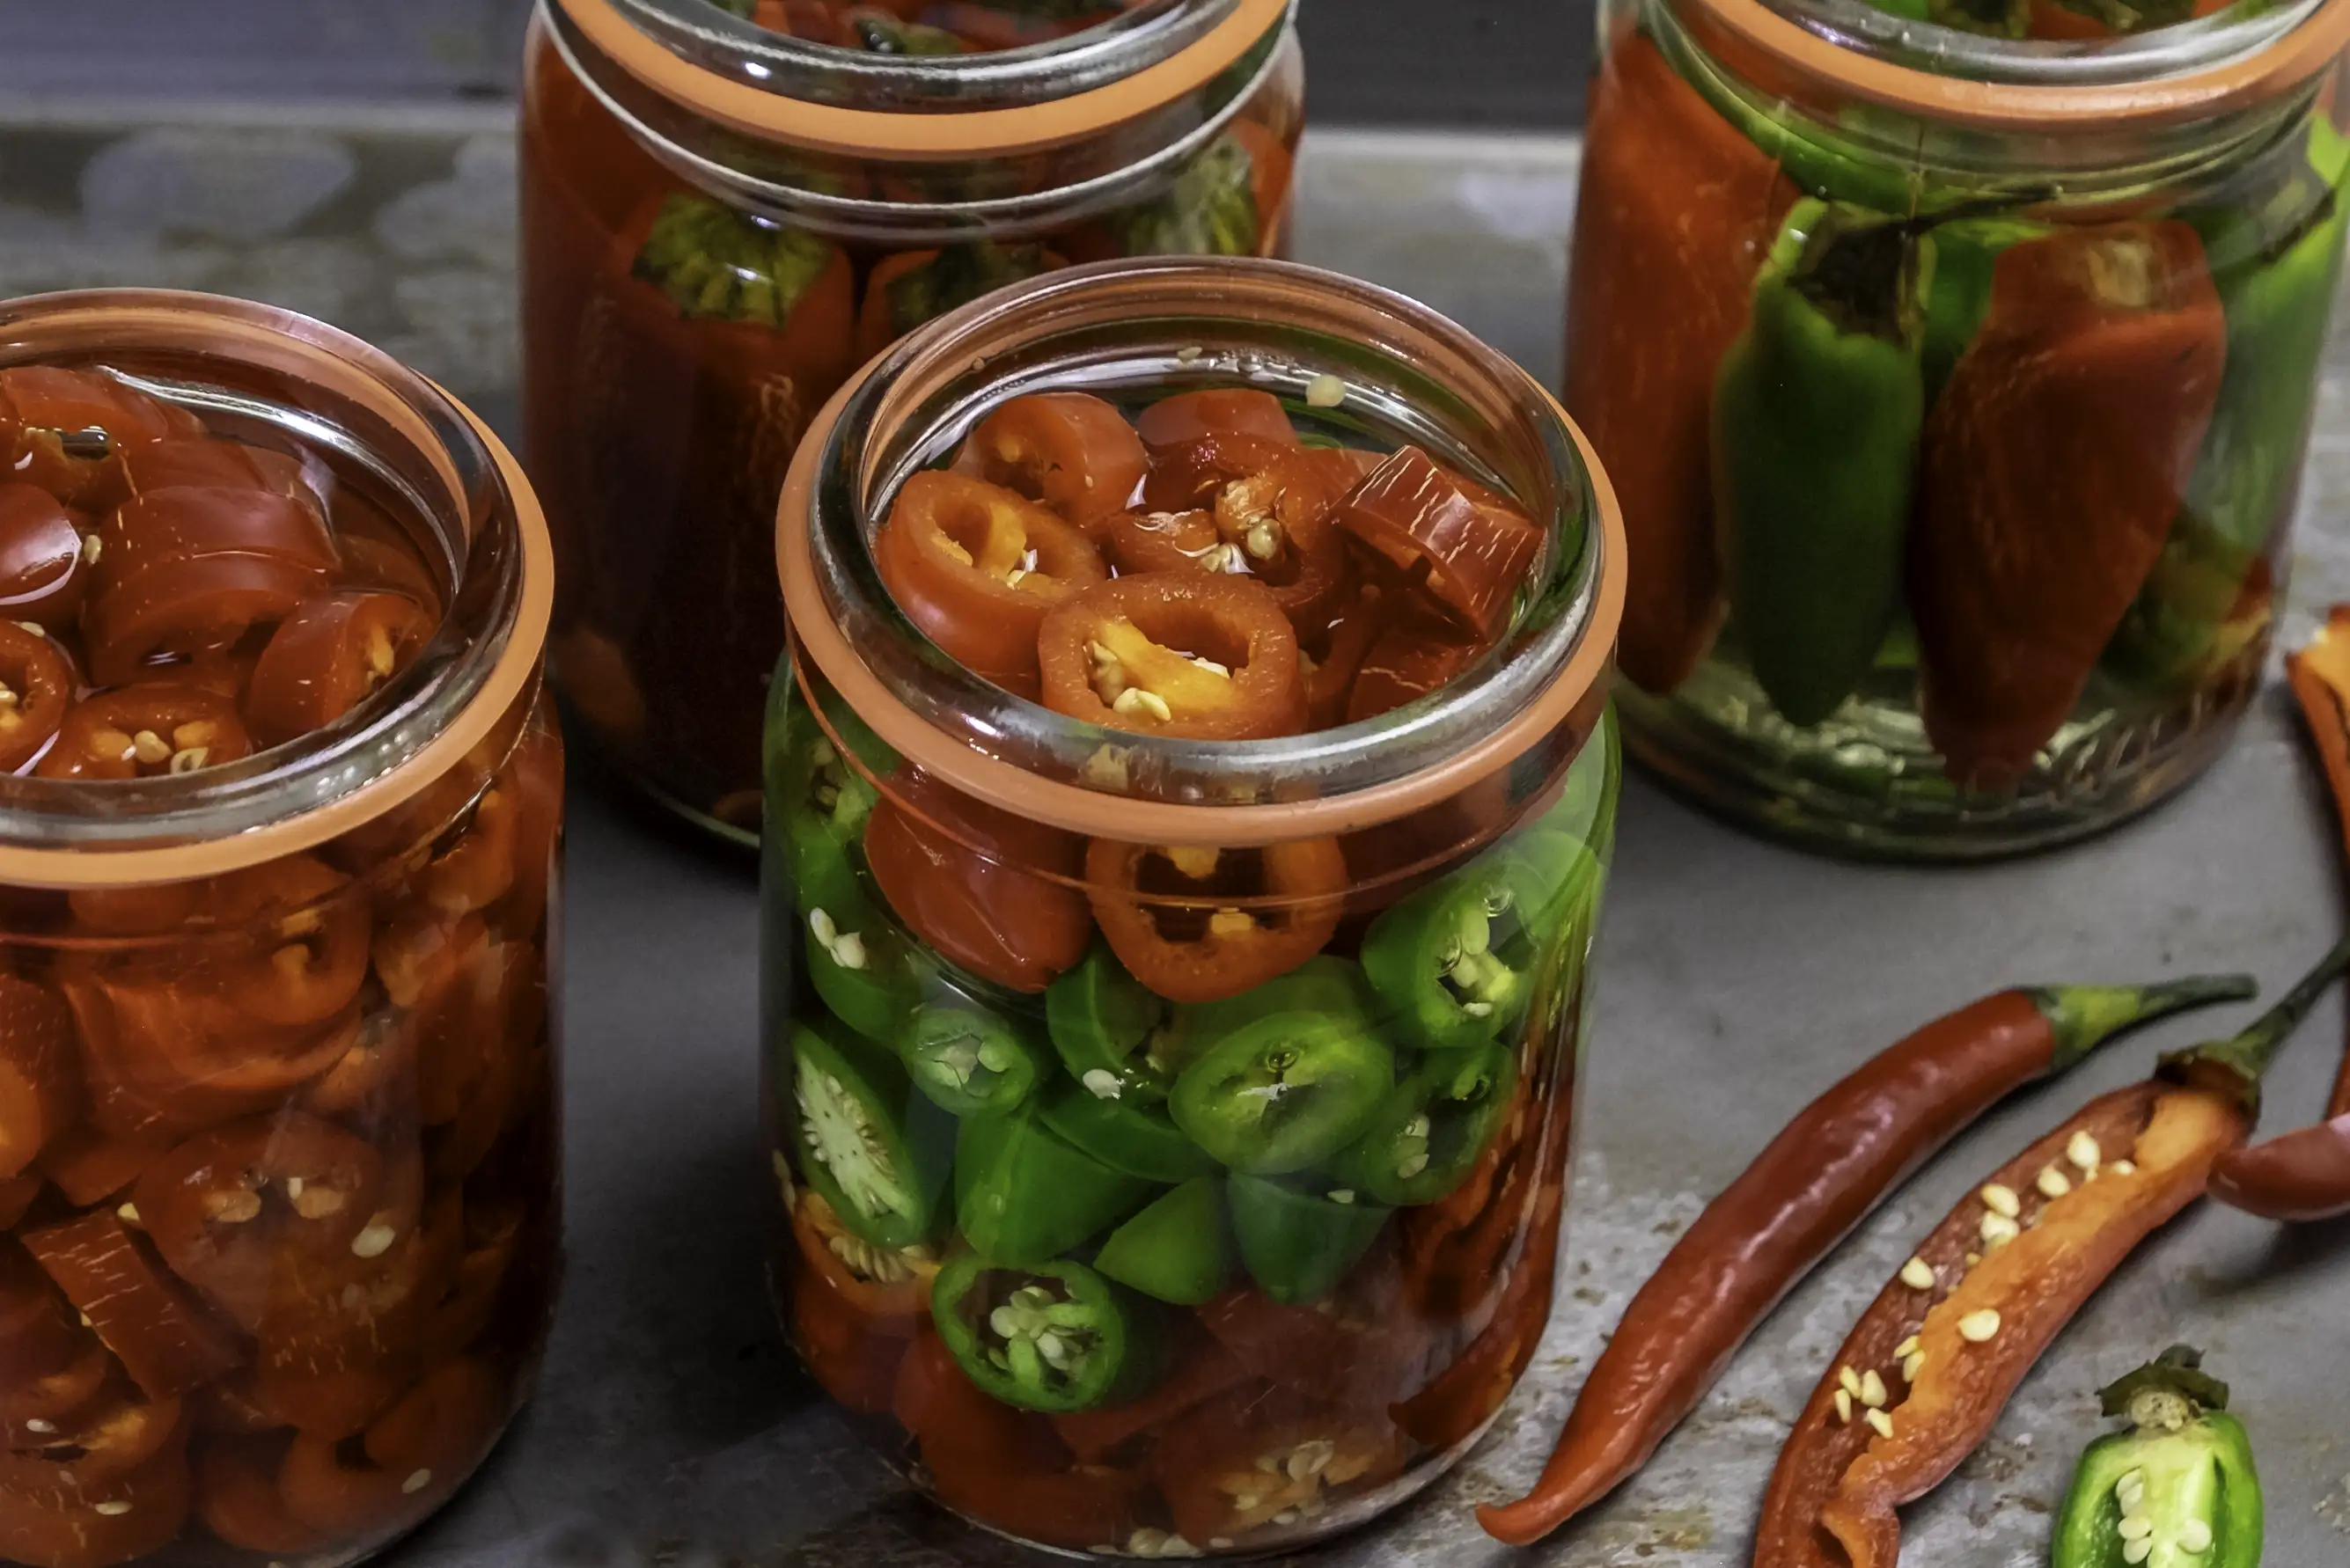
There’s Middle Eastern pickled turnips and watermelon rind pickle, French Cornichons, Pickled Nasturtium Seeds, English Mustard Piccalilli, Spiced Quinces and Pickled Onions, Italian Giardiniera, Dutch Sour Dill Pickles, Finnish Dill Pickles, American Pickled Okra, Pickled Pumpkin and the Aussie Pickled Beetroot and Pickled Cherrie just to name a few. It can be sharp and sweet, warm and mellow or hot and piquant. Either way you make it, simple meals are transformed into a feast, with a bit of pickle on the side.
Two different brining methods to extract the excess moisture
There’s two pickling methods: dry salt brining and wet brining, each suited for different types of vegetables and desired results. Let’s explore the fundamentals together so you can conquer pickling and develop your own unique pantry staples.
THE PICKLERS PRIMER
Pickling is an easy 3 or 4 step process but it's all in the detail.
Step 1 Brining Process
Dry salted Method
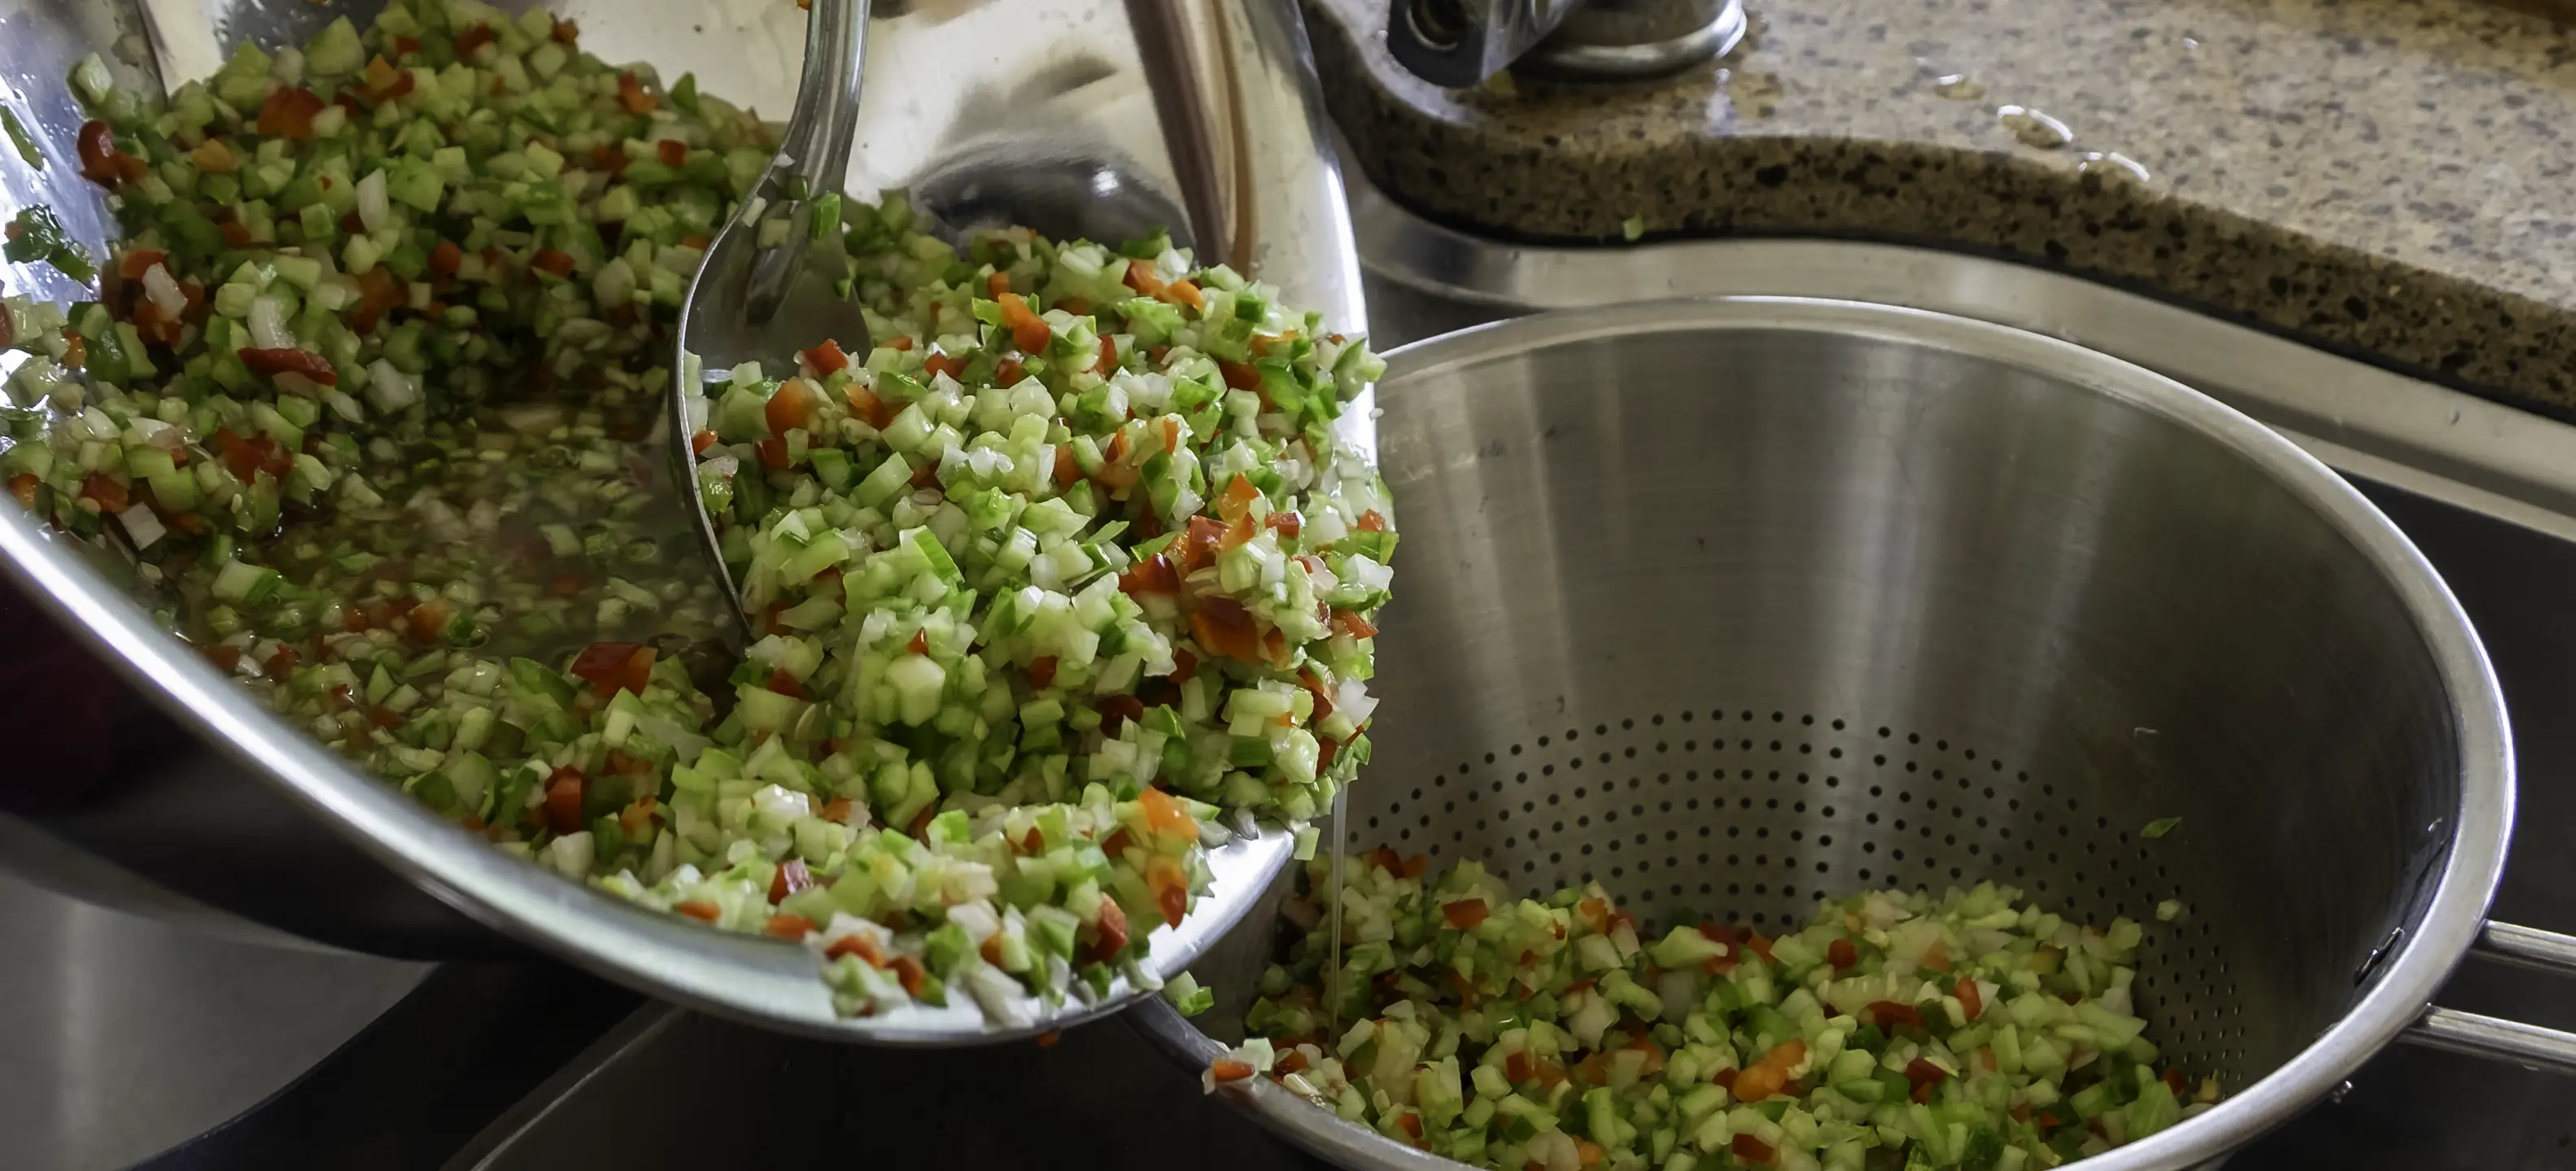
- Salt is rubbed over, massaged into or sprinkled between layers of prepared vegetables, covered and allowed to stand in a cool place for 8 hrs (or in the fridge in warm weather). This draws out the natural juices and makes crisp pickles.
- Transfer to a colander or fine sieve and rinse under continuous running water to remove the brine and excess salt. Drain well. Use kitchen paper or a clean dry tea towel, if necessary, as it’s important to remove the excess water so it doesn’t dilute the spiced vinegar.
- As a general rule, use 10% salt of the prepared vegetable weight. E.g. 75g (2.2 oz) salt for 750g (1.65 lbs) prepared vegetable. Use only good quality cooking salt. There’s more on this in the Additional Notes Section: Type of Salts section.
- This method is well suited to vegetables with a high-water content, like cucumber, zucchini, capsicum
Wet Brined Method
- This involves submerging vegetables in a saltwater solution.
- Mix salt and water to make a brine solution. Use a 10% salt solution, allowing 200g (80 oz) salt per 2 litres (4 pints/ 8 cups) water.
- Pour the wet brine over the prepared vegetables, cover with cling film/clean dry tea towel and allow to steep for 8 hrs in a cool place or in the fridge in warm weather. Allow approximately 500ml (1 pint/2 cups) of brine for each 400g (1lb), prepared vegetables.
- Ensure the vegetables remain submerged, weigh down with a plate that sits inside the container.
- This method is suitable for very dense or thick skin ingredients (e.g. whole lemons, watermelon rind, green walnuts) or where a softer result is required.
- If the recipe calls for a sweet, spiced vinegar, the salt solution can be reduced to 5% instead of 10% as the sugar content in the spice vinegar mixture will contribute as a preserving agent as well as the vinegar.
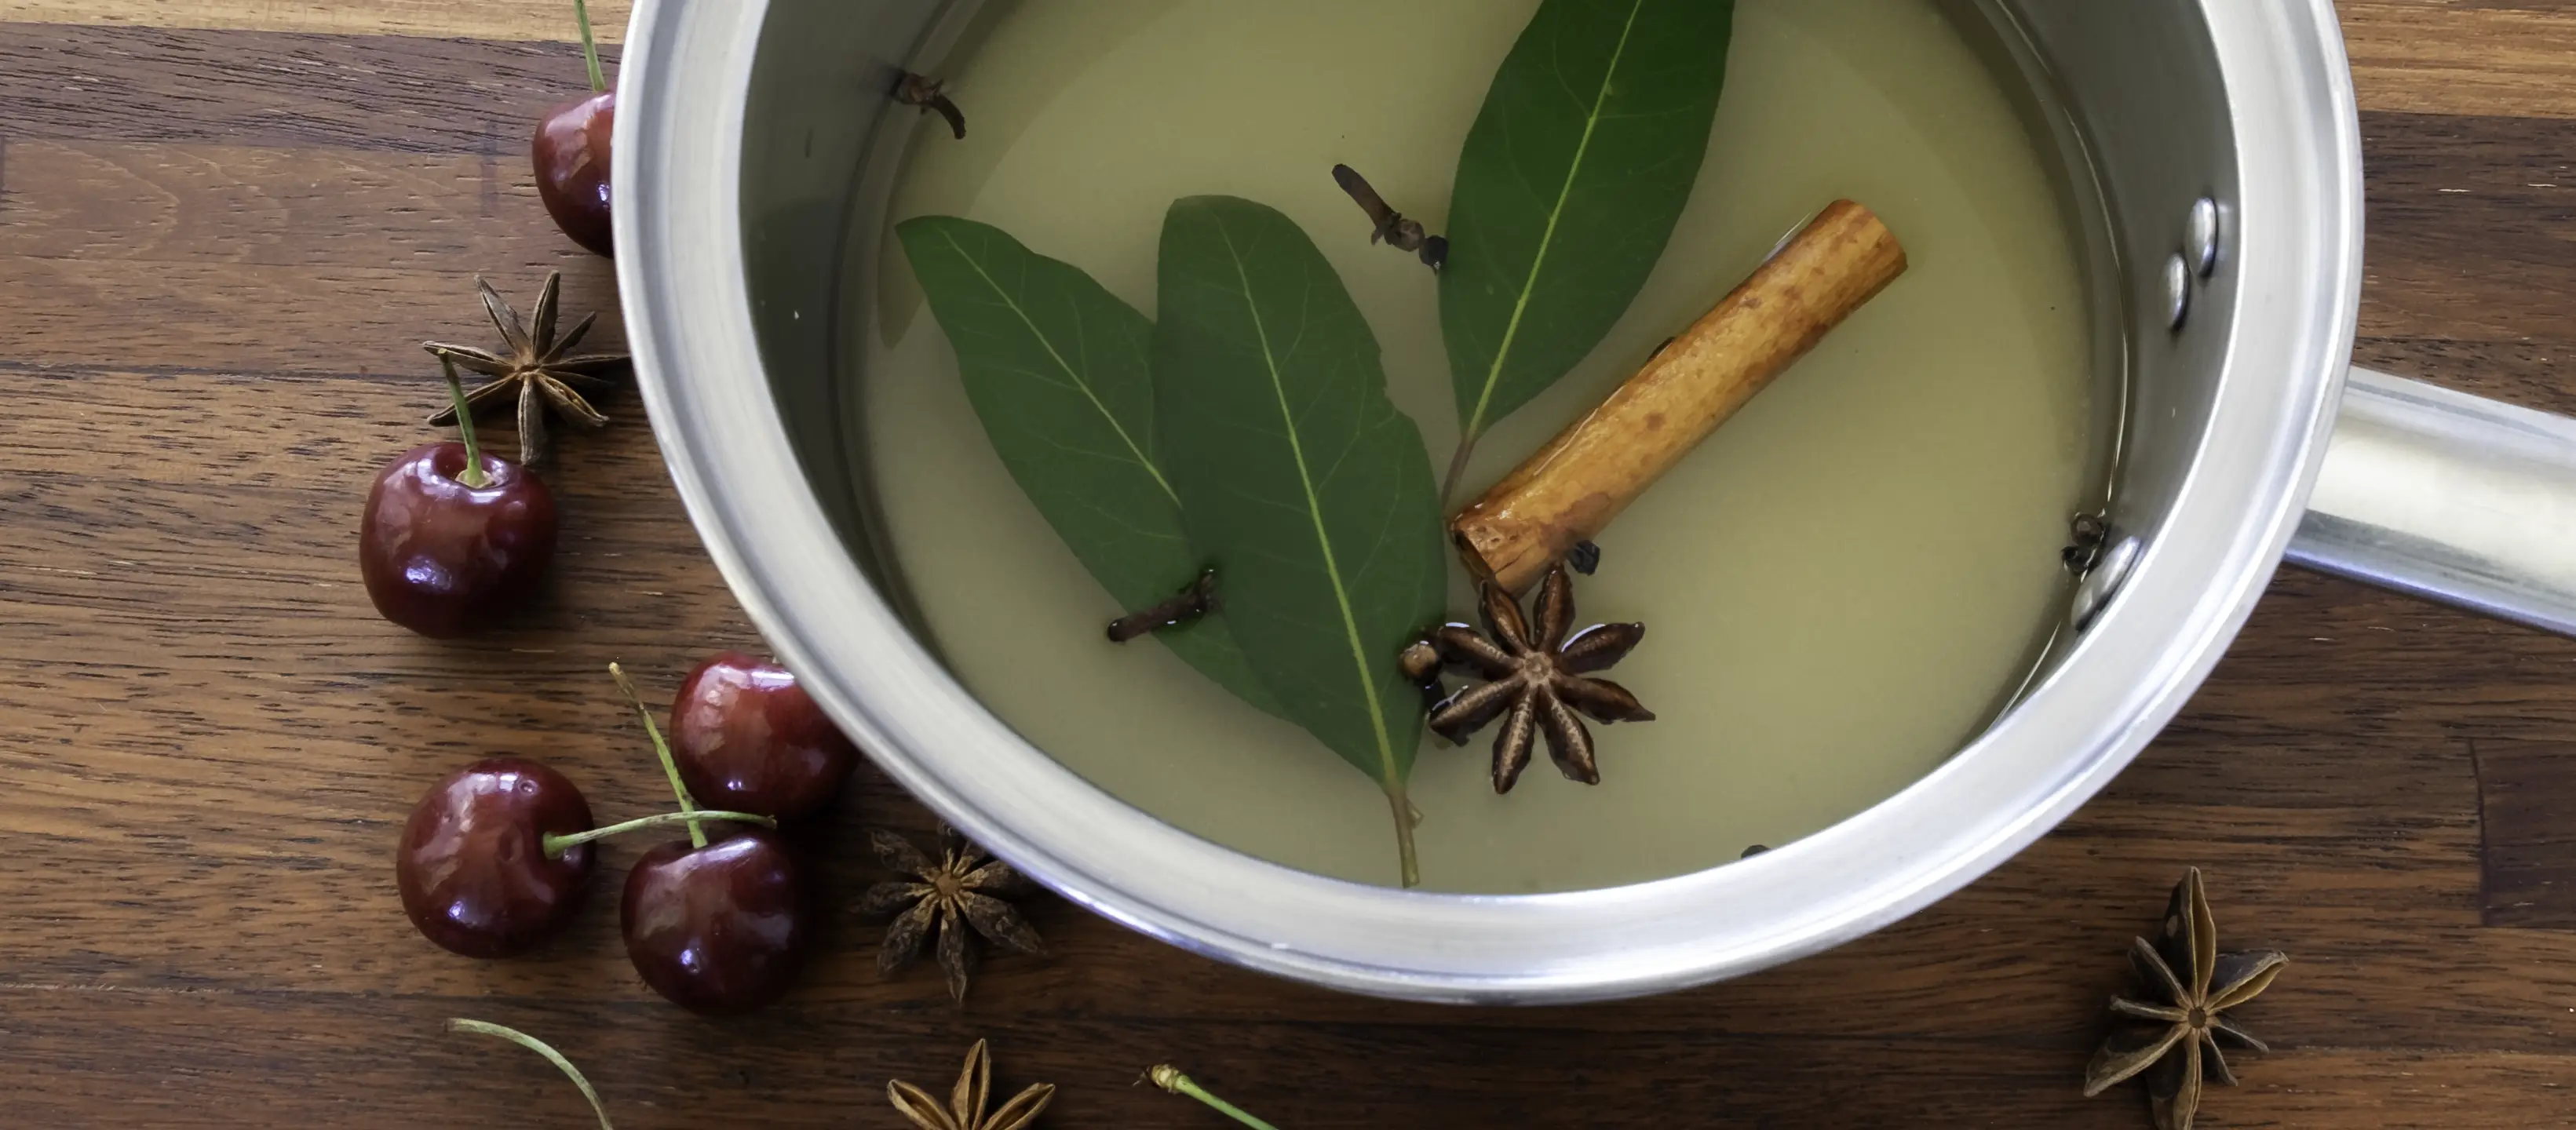
- Spices can be simmered directly in the vinegar, placed in a spice bag or large infusion strainer. Using either method, place the spices in a stainless-steel saucepan with the vinegar, simmer gently for 10 minutes and allow to cool, letting the spices steep (infuse) for 2hours. This maximises the extraction of flavour from the spice mix.
- If you don’t have 2 hours, lightly crush the seeds and then proceed as above and steep for as long as possible.
- Spiced vinegar has a 12-month shelf-storage life. It can be made ahead and stored in a clean sealed sterilised jar until required or it can be made while the vegetables are brining. Either way, it’s the key flavouring agent.
- To make a spice bag refer to the How to Make a Spice Bag in the Additional Notes Section
Basic Spiced Pickling Vinegar Recipe
Ingredients
- 1 tablespoon allspice berries
- 1 tablespoon whole cloves
- 2-inch piece fresh ginger root, peeled and sliced
- 1 cinnamon stick
- 12 whole black peppercorns
- 1.2 litres /5 cups of white or apple cider vinegar.
Method
- Place the spices in a spice bag, large tea leave infuser or directly into a stainless-steel saucepan.
- Add the vinegar. Simmer gently for 10 minutes. Take off the heat and allow to cool.
- Let the spices infuse (steep) for 2 hrs. Strain and use as required.
Basic Sweet Spiced Vinegar
- Fruits and some vegetables, such as cucumbers, beetroot, blueberries, cherries, apples, pears, are preserved in a sweetened spiced vinegar.
- To offset vinegars’ sharpness, sugar is added. Normally between 350g (12oz) and 450g (1lb) per 300 ml (1 ¼ cups) white wine or apple cider vinegar. The amount of sugar can also be adjusted to suit your taste.
- Place the sugar in the vinegar and spice mixture as per the basic recipes above. Bring to a simmer, stirring occasionally until the sugar has dissolved. Then proceed as per the recipe.
- A recipe may require simmering the vegetables/fruit until just cooked. They should be slightly firm, as they will continue to cook in the hot vinegar until it’s cool. The pickles must remain firm, slightly crunchy and definitely not mushy!
- Cooked pickles, that is, when the vegetables/fruit are simmered in the spice brine before being jarred will have a longer shelf-storage time.
- If no cooking is required, proceed to the final step.
Use the Cold Cold Cold or the Hot Hot Hot Method, but don't mix the temperatures up
Step 4 Jarring up the Pickles
- Use the Cold Cold Cold method or the Hot Hot Hot method depending on whether the vegetables/ fruit have been cooked in the spiced vinegar.
- When the vegetables/fruit and spice vinegar have been cooked, while they are hot, place them into hot dry sterilised jars, cover with hot spiced vinegar and seal immediately with hot, dry sterilised lids.
- If they have not been cooked, place the cold vegetables/fruit in cold, dry sterilised jars, cover with cold spiced vinegar and seal immediately with cold, dry sterilised lids.
- Always pack the vegetables/ fruit into jars and fill to approximately 2.5 cm (1 inch) from the top of the jar. They must be completely covered.
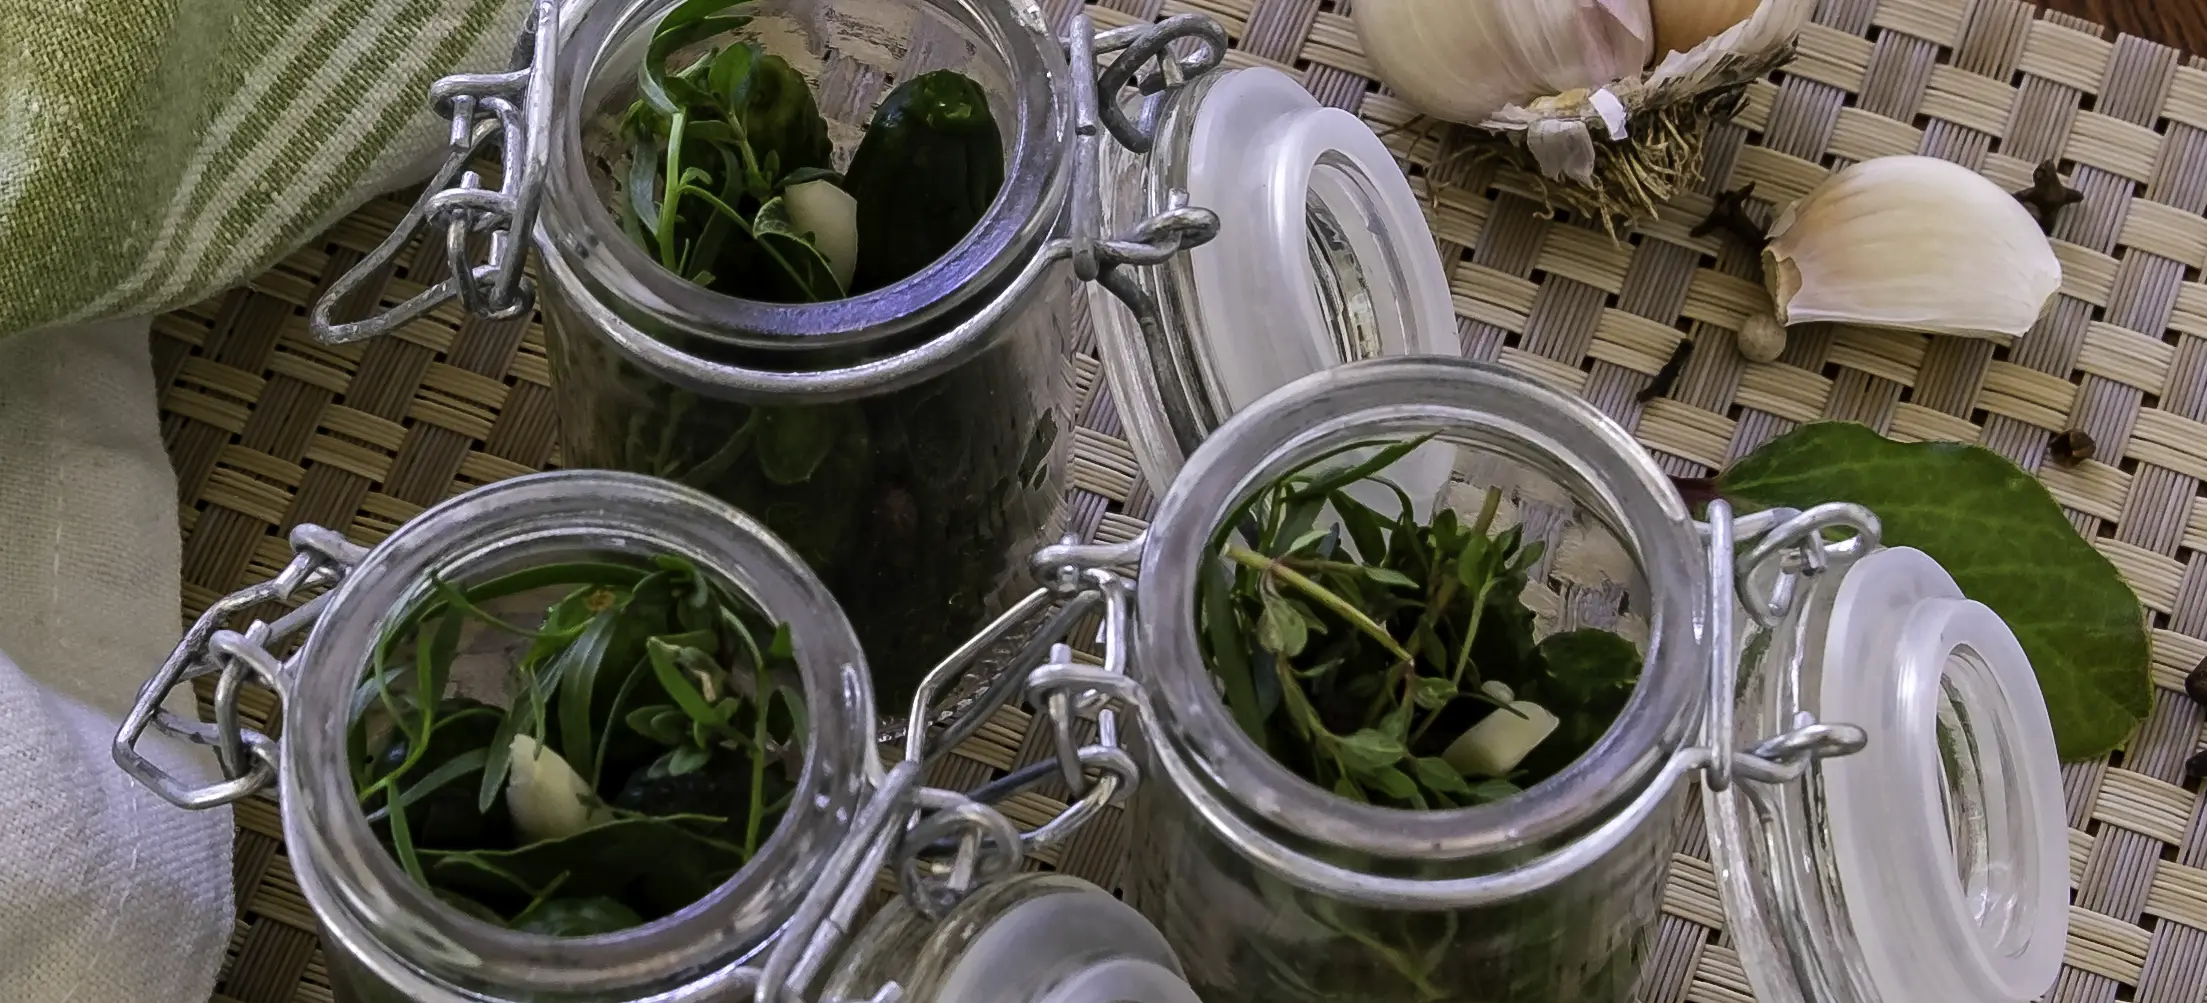 Pickling cucumbers, tarragon, garlic & thyme jarred, ready to be covered with cold spiced vinegar for
 Cornichons
STORAGE TIME
- All pickles should be kept in a cool, dark, dry place.
- Vinegar preserved pickles, if jarred and stored correctly, have a long shelf life. The longer they are kept however some discolouration may occur.
- Usually, pickles are ready to eat in 3 weeks, but 2 months is preferable.
- Raw vegetable pickle (one’s that are not cooked), should be eaten within 12 months.
- Red cabbage loses its crisp textures and best eaten within 2-3 months of making.
- Once opened, storage in the fridge.
WHAT CAN GO WRONG
- Pickles have poor-keeping qualities.
- Packed in unclean jar or inappropriate storage.
- Under brined with insufficient salt or insufficient time in the brine
- Fermentation, mould, or white speckles
- Something seriously wrong has happened. Do not eat and discard immediately!
- Probable causes: vinegar solution not strong enough, either through using vinegar that doesn’t contain min. %5 acetic acid by volume, vinegar solution dilutes if rinsed brined vegetables not adequately drained, brining process not carried out correctly, and/or using damaged/bruised vegetables/ fruit and deterioration/contamination spread.
- Cloudy brine or white sediment develops in the jar. These impurities are the anti-caking agents and iodine that’s added in many commercially available salts.
ADDITIONAL NOTES: For Some Ancillary Points
Jar Selection
- Wide- neck jars are recommended as the pickles are easier to pack and remove. Use screw top jars with lids with plastic coated linings. Vinegar reacts with metal, causing it to corrode over time and flavour the pickle. Never use rusty lids.
- Use medium-sized jars. Large jars tend to be opened much longer which increases the possibility of contamination.
- Always use sterilised jars and non-reactive lids.
How To Make a Cloth Spice Bag
- Drape a square of muslin or calico over a basin. Place the spices and/or herbs outlined in the recipe mixture into the cloth
- Gather up the corners and make a bag by tying it up with kitchen string approximately 2 cm above the spices.
- Always allow room between the tie point and spice mixture so the water can bubble through the bag easily. This helps to extract as much flavour as possible.
- Once the spiced vinegar has been made (including the steeping time), remove and discard the spices, unless otherwise specified in the recipe.
- The cloth can be washed, dried, and reused for another batch. My tea towel draw has a range of different sized cloths that are on-hand for my preserving sessions.
Different vinegars, sugars & salts affects colour, appearance & flavour
Ingredients to Make Spiced Pickles
- The main ingredients are vinegar, salt, spices for flavouring and sugar, (if making a sweet, spiced vinegar solution). Water is used to make the wet brine and to rinse off the brine from the dry and wet brining method and any residual excess salt flavour.
- Always use the best quality ingredients you can afford as the quality will affect the final appearance and flavour.
- The type of vinegar, sugar, salt and aromatics affects the colour, appearance and flavour of your pickle. Light coloured vinegar and sugar will produce a light-coloured vibrant preserve that doesn’t mask the pickles flavour or colour. White wine vinegar made from fermented white grapes has a more neutral colour and flavour than apple cider vinegar. Cider vinegar is made from fermented apple cider, is a light to medium amber colour and has a more fruit flavour.
- I do not recommend using white synthetically manufactured vinegar as it has a harsh flavour.
Types of Salt
- Only use good quality pure cooking/pickling salt when preserving. There are many different types on the market and each has different characteristics.
- Many commercial salt brands contain stabilisers and anti-caking agents and often iodide which forms a whitish haze and sediment, which is clearly seen in some pickles. These additives, particularly iodine, can affect the pickles appearance and taste during the maturation and storage stages. The ingestion of a cocktail of anti-caking chemicals such as calcium silicate, sodium silicoaluminate, tricalcium phosphate, magnesium carbonate, silicon dioxide and yellow prussate of soda, is also unnecessary. Read the label before buying and look for salt that is free from any artificial additives.
- Different varieties have varying levels of saltiness. There’s no magic ratio to use when trying a new salt or making substitutions. Unfortunately, it's a matter of trial and error. Olsson Cooking Salt is my go-to and is used in all recipes when salt is required. No commercial benefit is received from Olsson Salt.
- Lite Salt can be used in quick pickle recipes, however, it may result in a slightly different taste than expected. It should never be used in fermented pickle recipes as the salt is the only preservative. Salt’s high concentration of natural sodium chloride is required to destroy the harmful, yeast, bacteria, and moulds that can develop during the formation process.
The Spices - Aromatics
- The aromatics are all about creating unique distinctive flavour to the pickles. Juniper berries, black peppercorns, allspice berries, bay leaves, nutmeg, cinnamon, celery seed, fennel seeds, mustard seeds, dill seeds, cloves, coriander seeds, chilli flakes, fresh ginger, horseradish and garlic are just a few of the most popular ones.
- Use whole or crushed spices. Avoid the powdered options as they lose their flavour and aroma quickly and can create murky coloured pickles that look unattractive. The flavours continue to develop during storage and can become overwhelming.
- Packs of mixed pickling spices are available from supermarkets. However, you can make your own, adapting the combination of spices according to your personal preference .
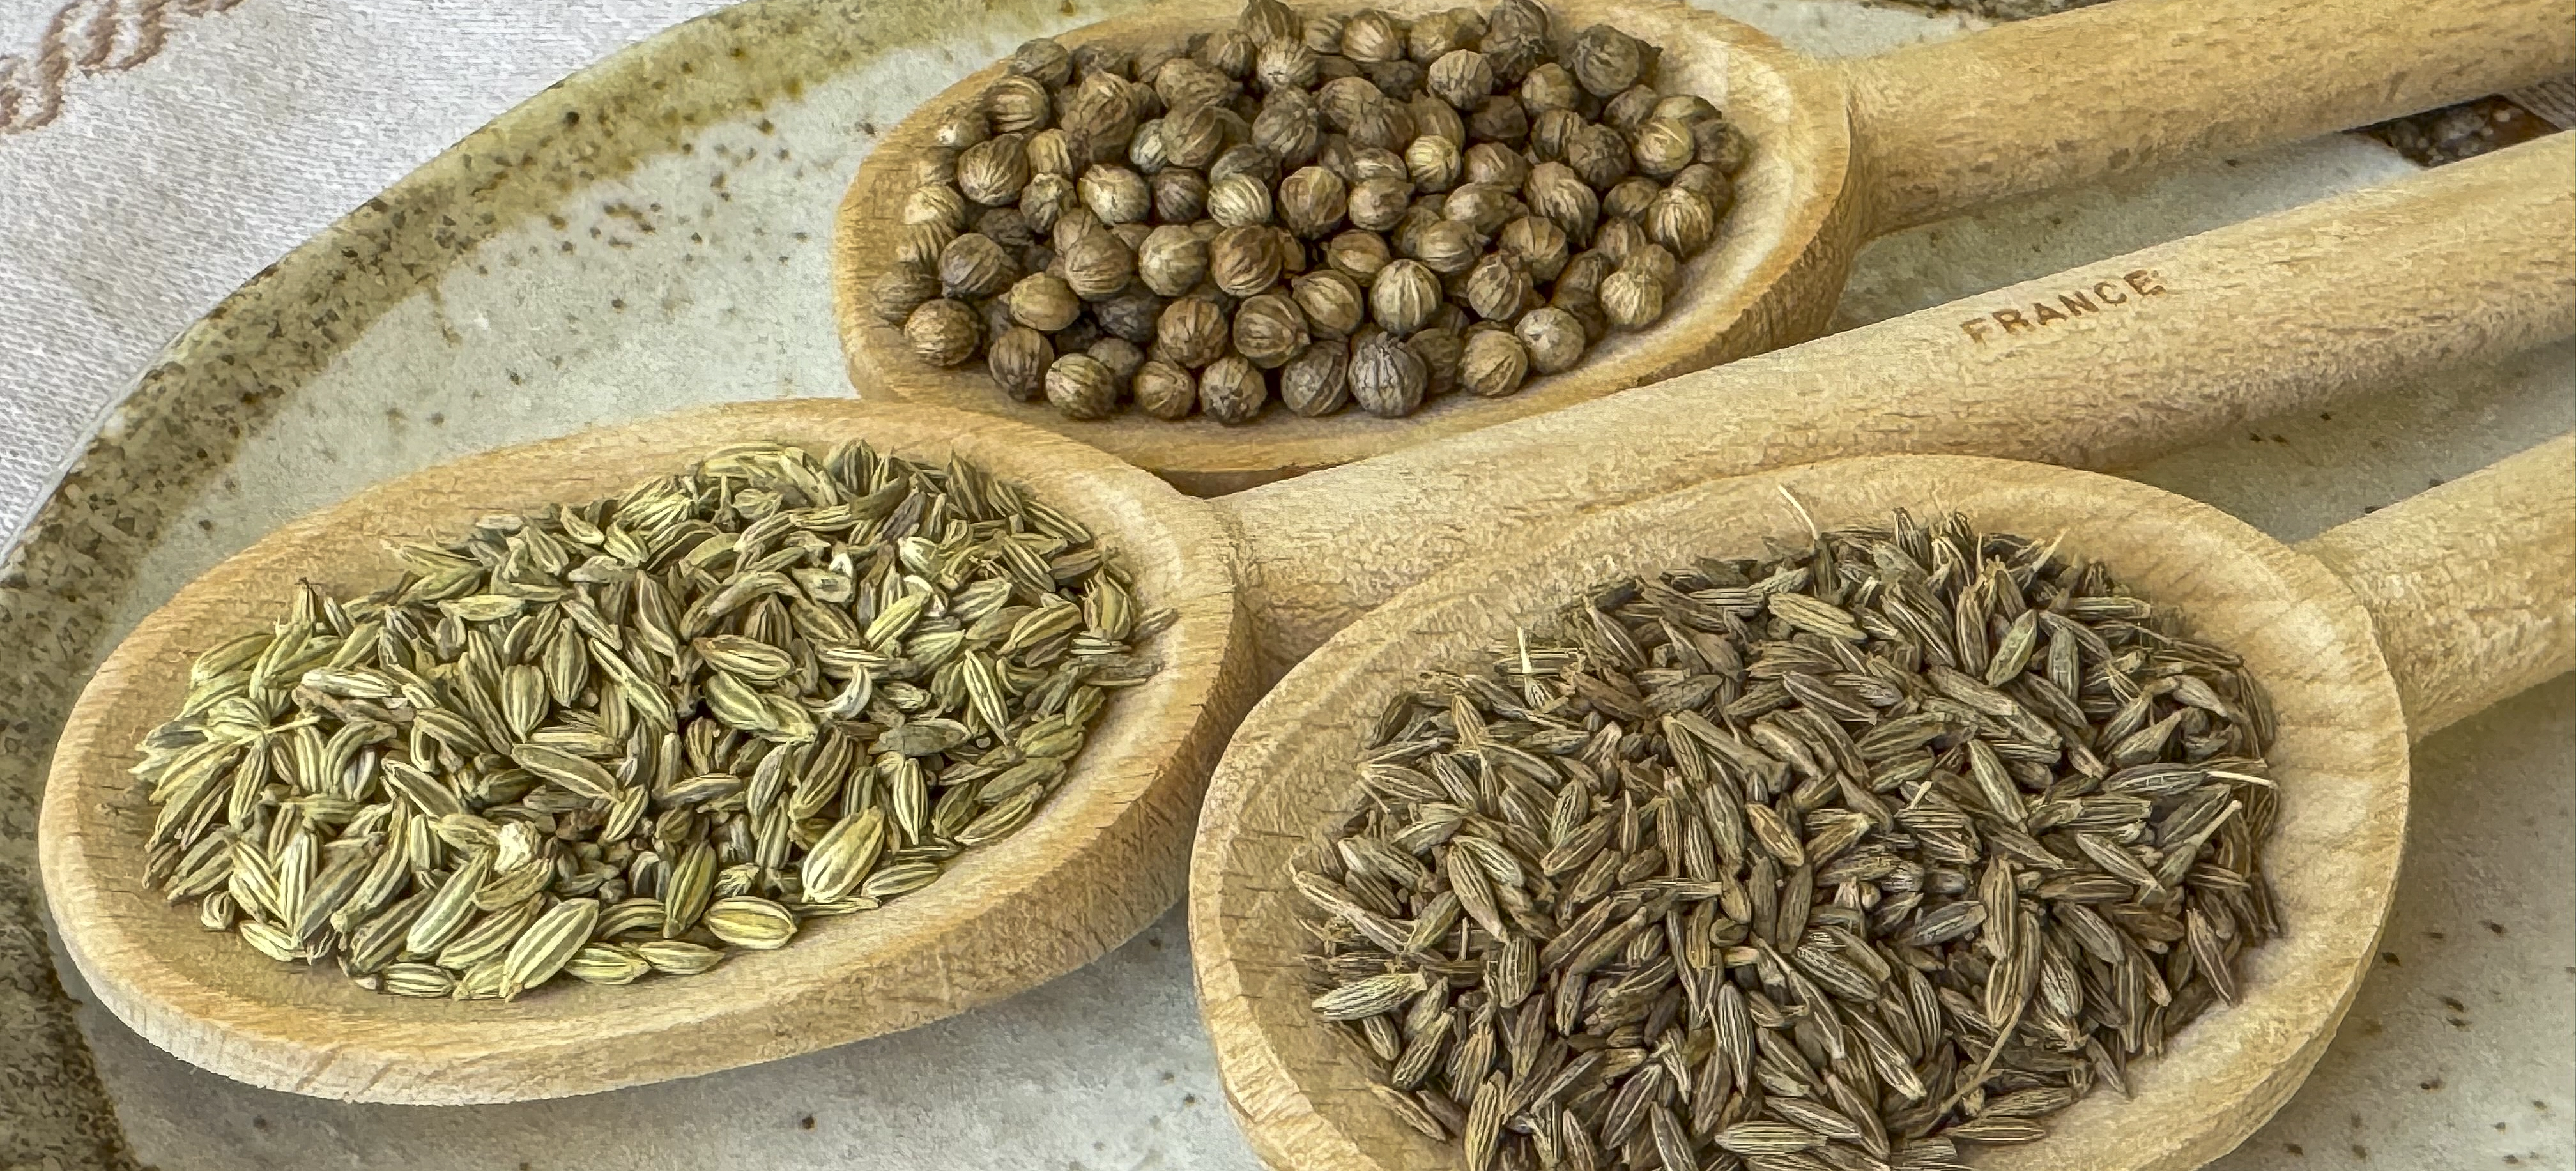 Cardamon, cumin & corianders seeds - just a few of the spices that can be used
Water Quality - Hard or Chlorinated Water
- Use good quality clean water. If it contains large quantities of minerals or chlorine you may need to either purify or deionise it or buy distilled water for your pickling.
- Hard water can cloud and discolour the pickling liquid. To remove the minerals, boil the water and allow it to sit for 24 hours. Skim the scum from the top of the water. Ladle off the water, making sure not to disturb or include the sediment on the bottom of the container.
- Depending on the concentration of the chlorine, it can delay the fermentation of brined pickles and/or have an unpleasant flavour. Boil the water for approximately 5 minutes, with the stove extraction fan on, to vaporise the chlorine. Allow the water to cool before using it in the recipe.
Acidity is the key to preserving your pickles
pH of your pickles. Preserving is in the acidity.
- Fresh, cooked and fermented pickles are preserved by their acidy. Fresh and cooked pickles are preserved by the vinegar content. Fermented pickles are preserved by the lactic acid which is produced naturally during the fermentation process. More acidic substances have a lower pH, while alkaline substances have a higher pH.
- To prevent the development of harmful bacteria, yeasts and moulds and botulism (Clostridium botulinum) food must be stored in airtight containers with a pH 4.6 or lower. Most pickles are acidified within a range of 2.6-4.0.
- If you are uncertain of the pH level of your preserve, test the liquid at least 3 weeks after the pickles have been jarred.
- Litmus paper can be used to test it; however, pH meters is more accurate.
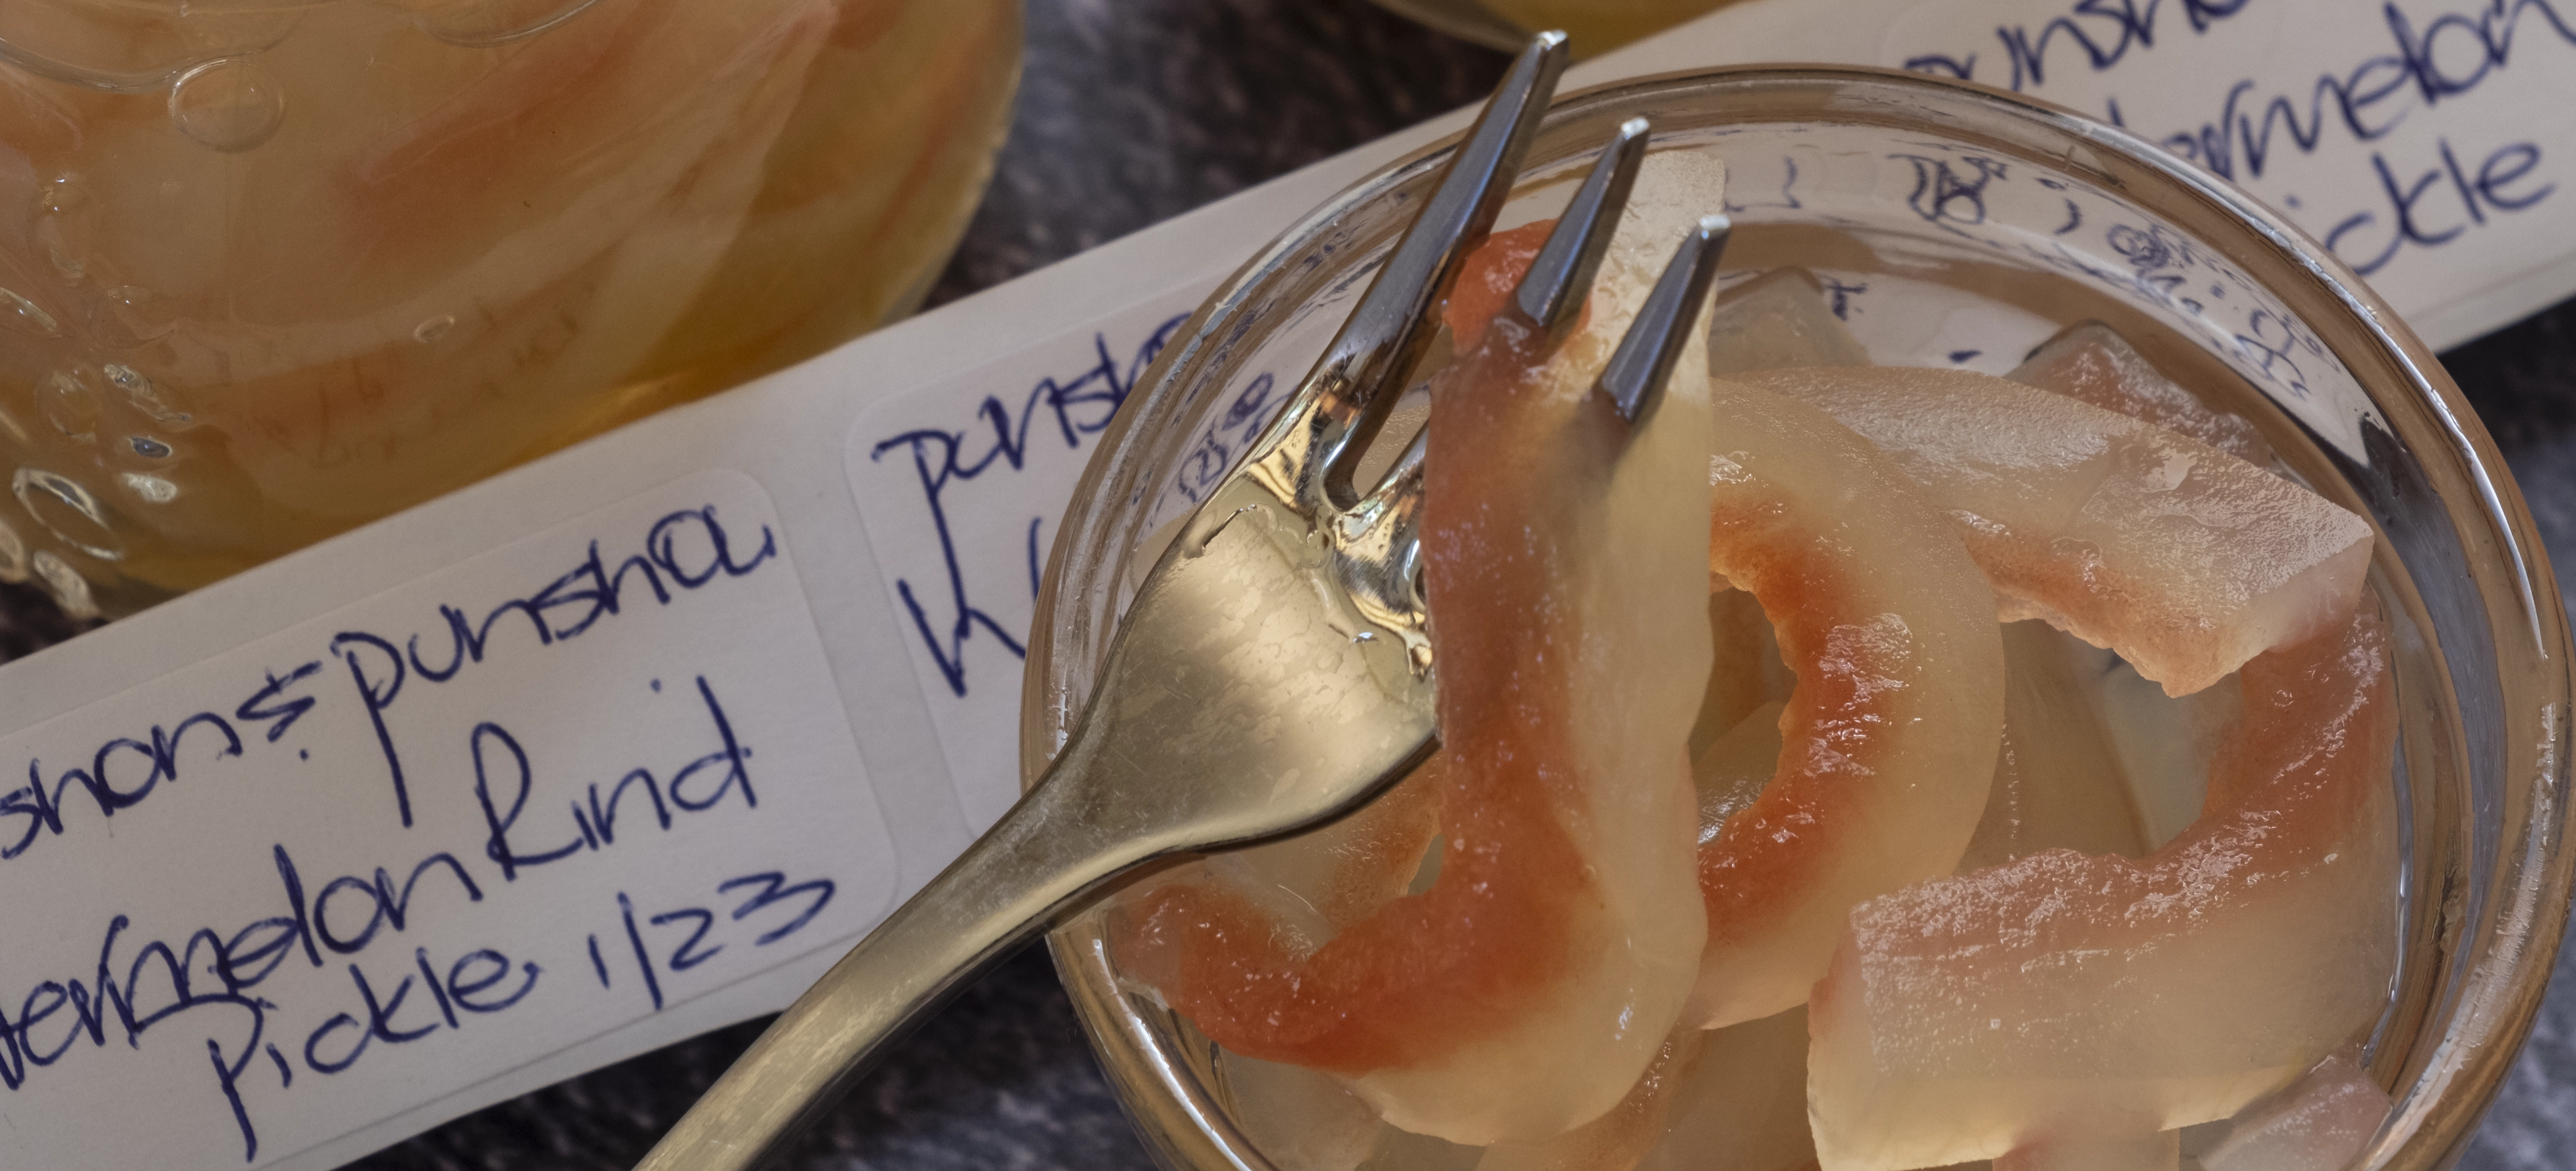 Watermelon Rind Pickle

