How to Sterilise Jars and Bottles
- Reasons
- Technique
Learning good kitchen hygiene and food safety is critical to successful home preserving. Knowing your preserves are safe to eat and do not contain any harmful bacteria, yeasts, and moulds that can become a health hazard is important. These ‘bad bugs’ are part of daily life. When present in our preserves they multiply quickly and cause preserves to deteriorate, become inedible and / or cause illness and in the case of botulism - it can be fatal.
Sterilising tight-fitting containers prior to use, working with clean benches and equipment, using clean dry tea towels and oven mitts, then bottling to obtain a secure vacuum seal will eliminate the ‘bad bugs’ and contribute to creating an environment that is not conducive to their multiplication.
Dip into the following quick reference guide, as needed, to learn about the five home sterilising methods. I’ve included some general tips to set- up an efficient workflow so you can focus on transforming your fresh bounty into a delicious jam, a delectable chutney, a wickedly rich and luscious fruit curd, or one of the family favourites.
GENERAL TIPS
- Have all sterilising and preserving equipment at hand before starting, including clean dry tea towels and oven mitts that have been washed since their last use.
- All equipment, including bench, boards, saucepans, jugs, funnels etc., must be washed with hot soapy water and rinsed in hot water, to prevent the transfer of bacteria, yeasts, and/or moulds to your preserves, during the handling and bottling stages.
- Containers and lids must be hot, dry, and sterilised just before you need them, so they remain scrupulously clean.
- Always sterilise more containers than required. Include at least one smaller container to bottle that last little bit in the bottom of the preserving pan.
- Placing hot glass containers on a cold surface can cause glass to crack. Use a wooden board or sturdy cake rack.
- Metal lids are not suitable for preserving unless they have a protective plastic insert or liner to prevent corrosion from vinegar-based preserves.
- Discard damaged or rusty lids as they will not create an airtight seal. Rusty lids contaminate the preserve.
- If using jars without lids, seal with hot paraffin wax to create a protective coating, then cover with a cellophane disk. Refer to the section Sealing with Paraffin Wax below. Don’t use aluminium foil, cellophane or paper covers as they don’t provide an airtight seal.
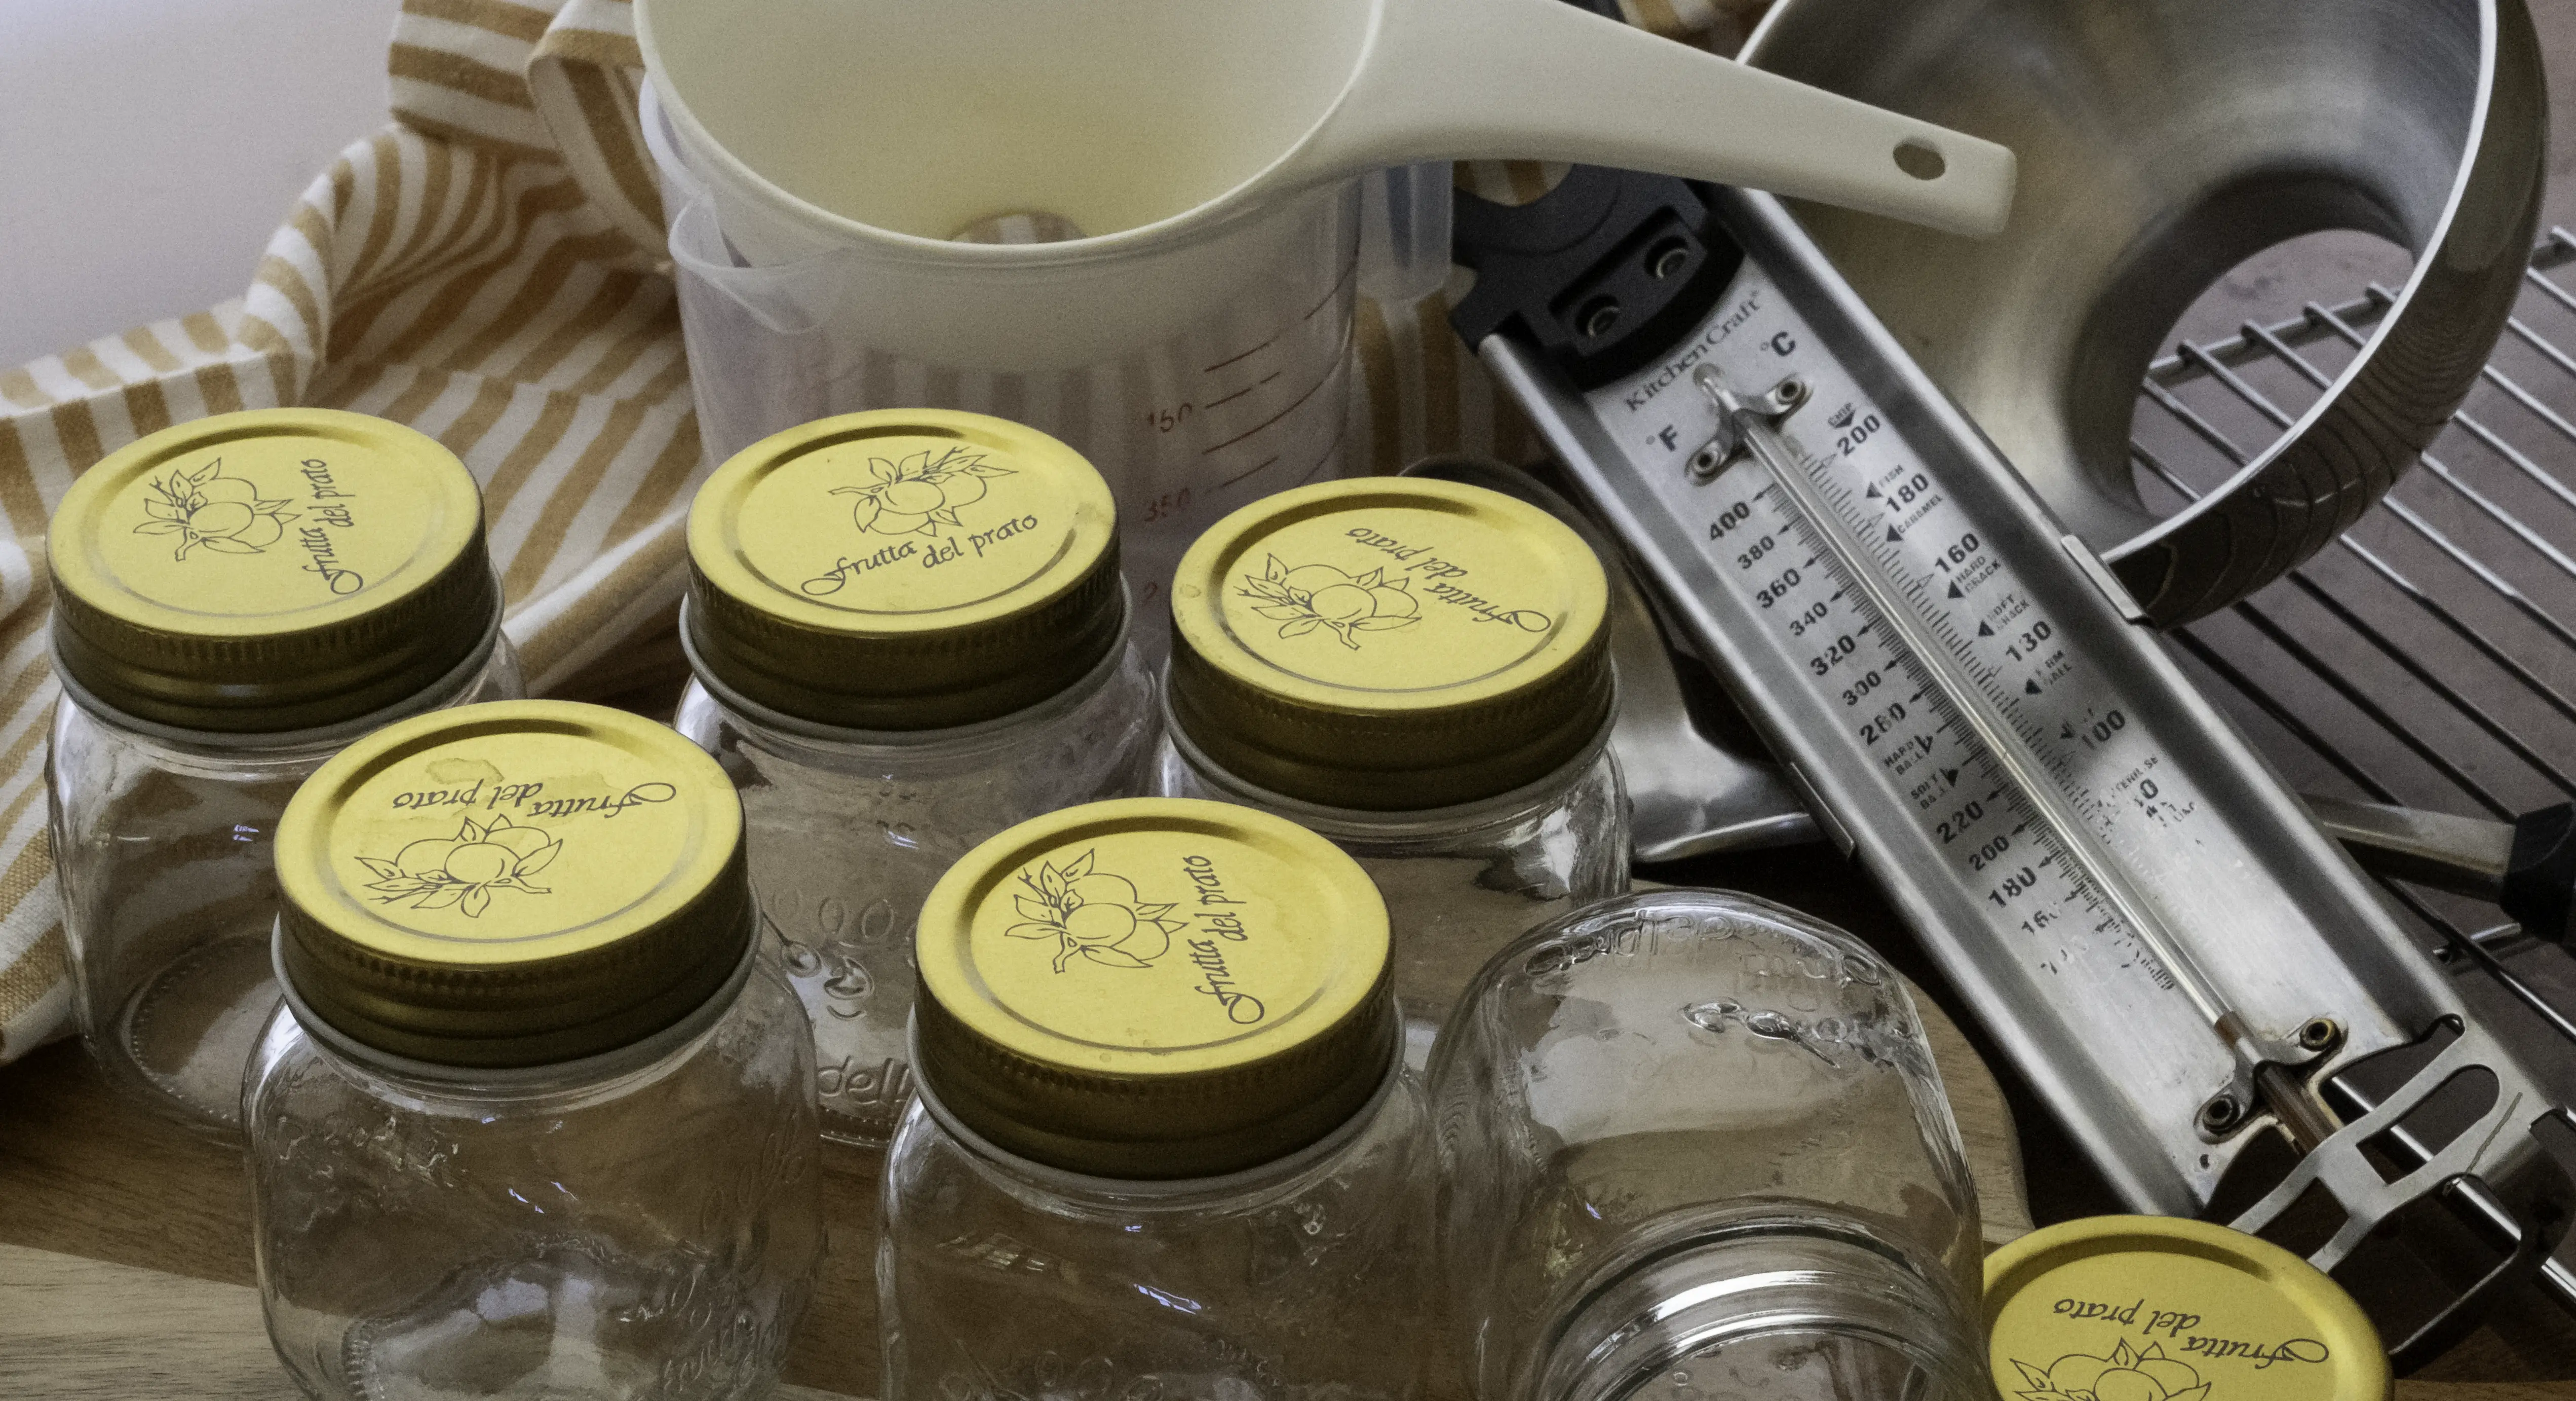
CONTAINER SELECTION & PREPARATION
Container selection and size is important as it determines the ease of accessing the contents, how quickly they will be eaten and hence how fresh and vibrant they remain.
- Generally, it’s better to store preserves in smaller containers than in larger ones as they are consumed more quickly.
- Choose containers appropriate for the type of preserve. Large pieces of fruit/vegetables into a medium-large container with a wide neck, smooth pourable sauces in narrow-necked bottles etc.
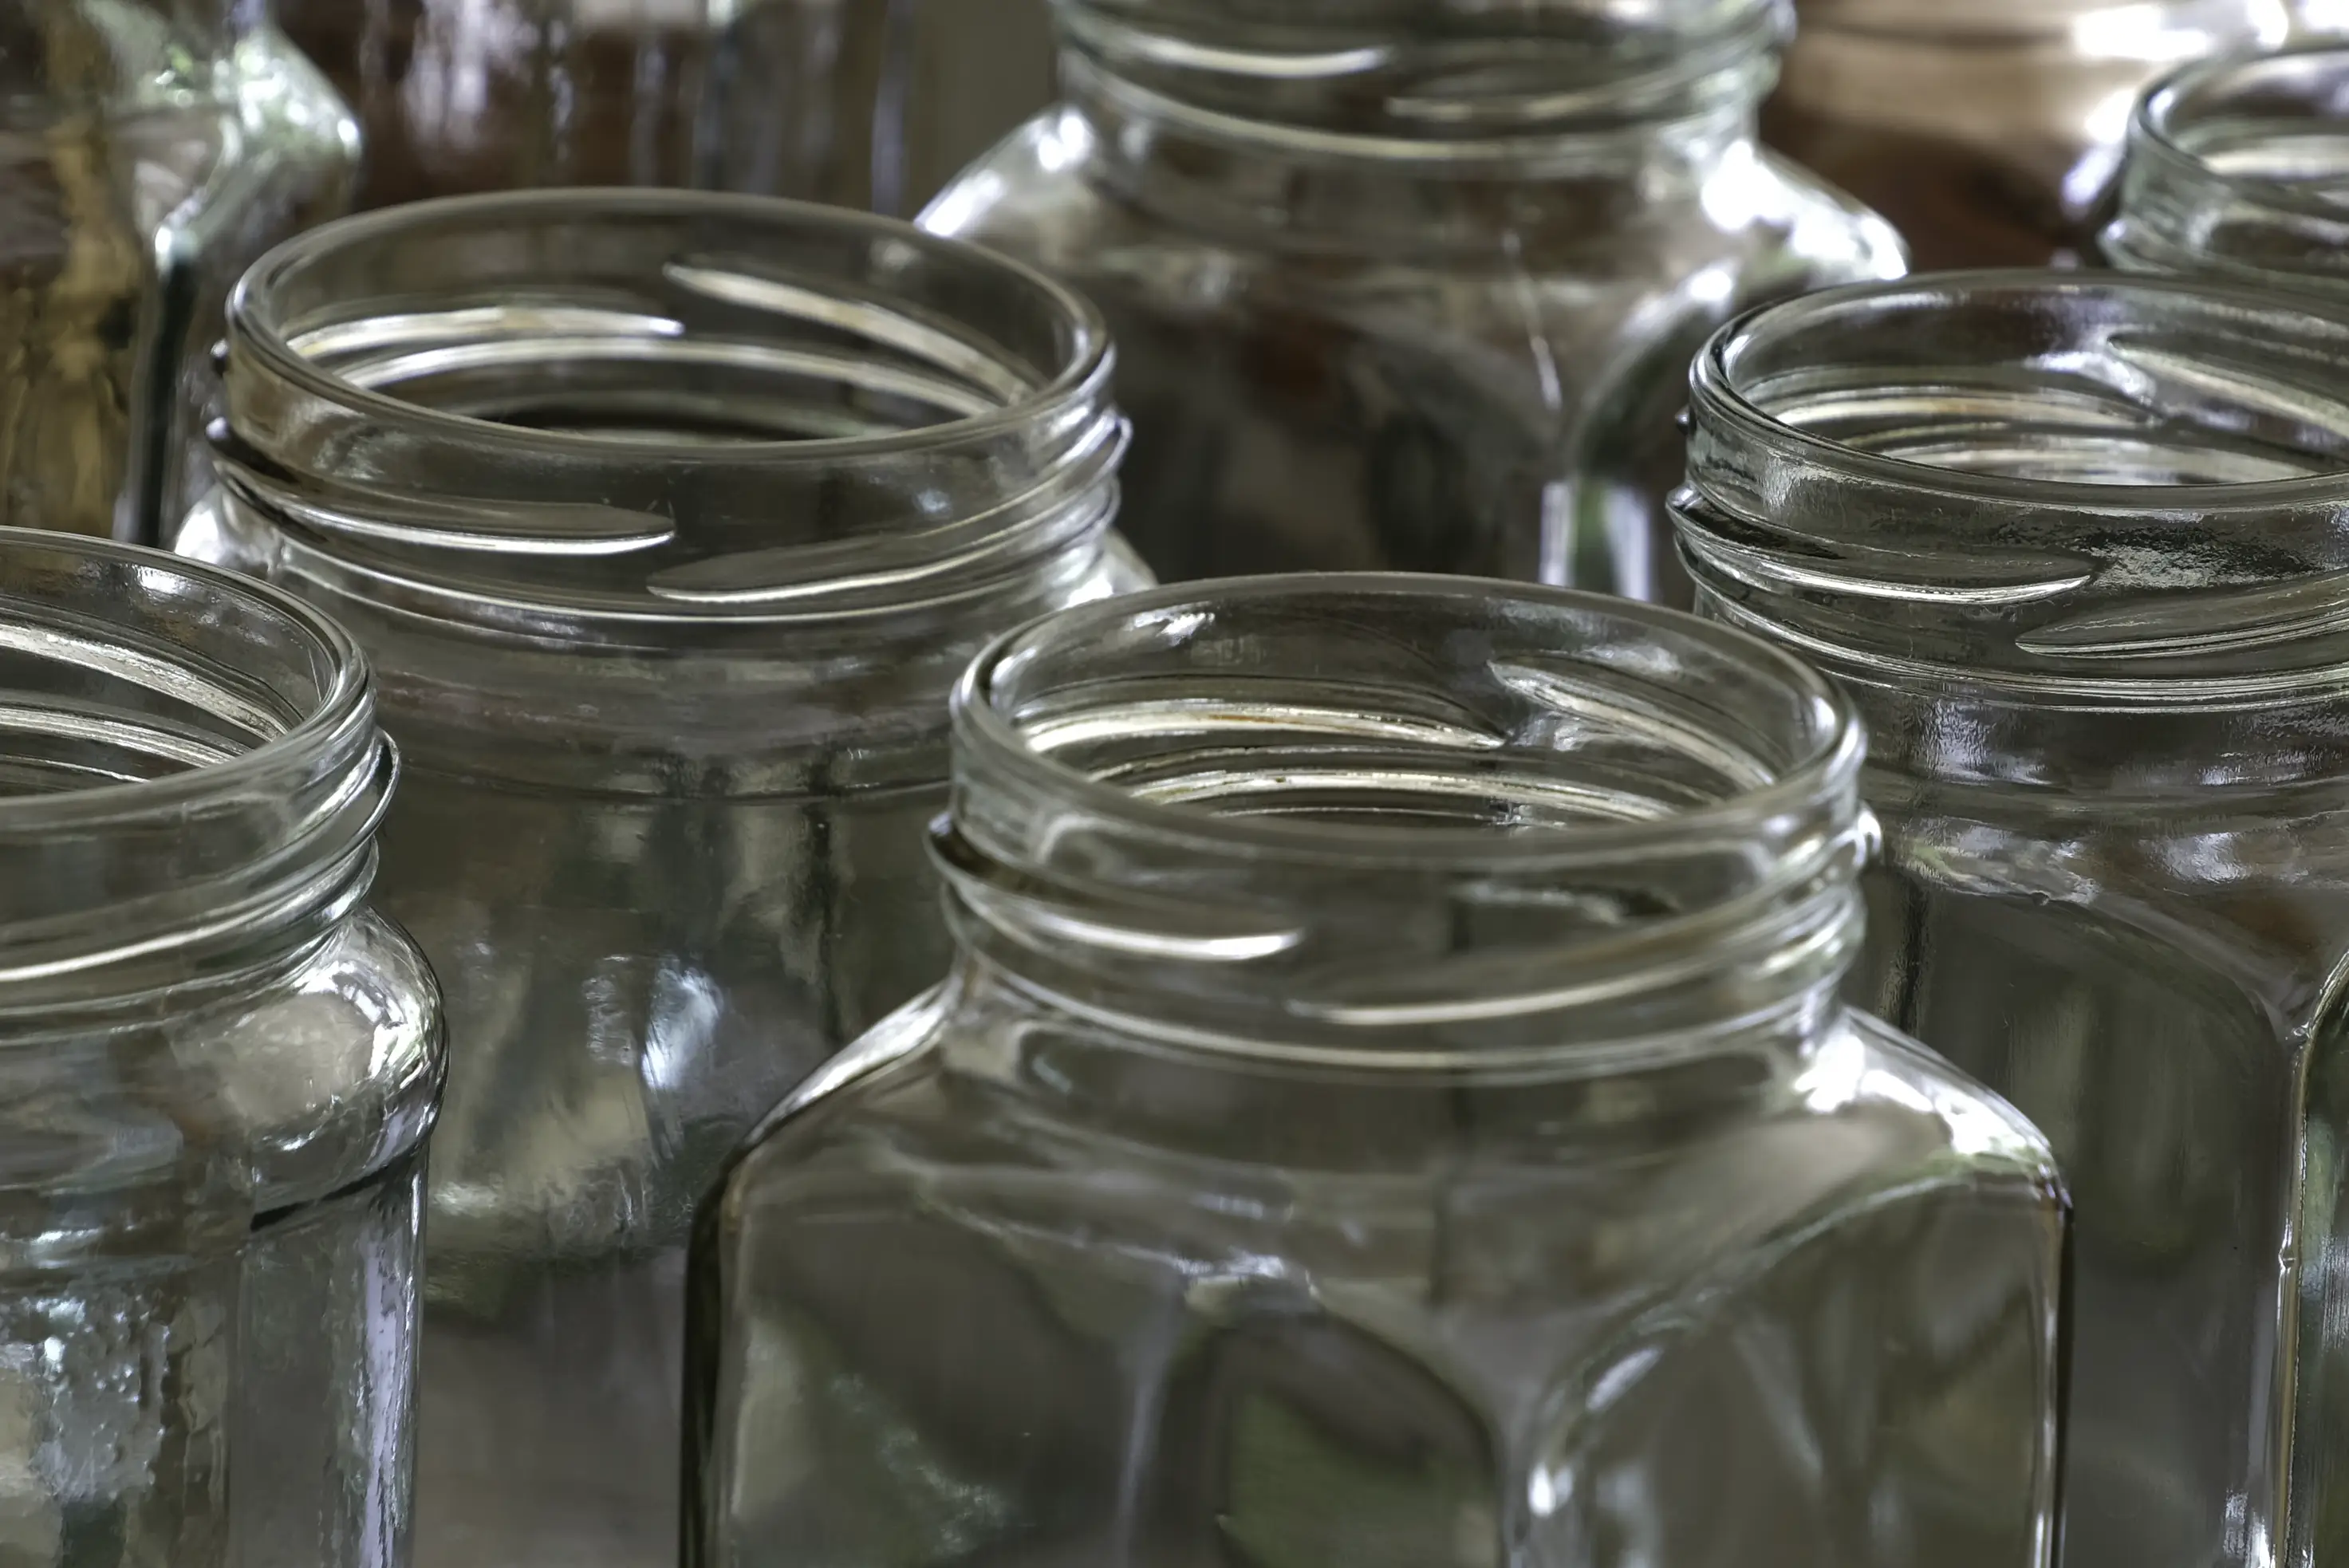
- Choose glass containers, free from chips and cracks, which have tight fitting lids.
- Remove labels, wash containers and lids in hot soapy water to remove any food residues and odours. Rinse thoroughly in hot water, turn upside down and allow to dry.
- Ceramic fermentation crocks and weights, used for making the different types of sauerkraut, should be sterilised prior to use.
Five easy methods, find the one that works for you
STERLISING METHODS
There are five sterilisation methods: oven, water bath, dishwasher, microwave, and chemical solutions. They require different equipment, processes, and sterilisation times. Each has pros and cons. Try them out and find your preferred method, depending upon the number of containers to be sterilised and type of equipment available.
Always start with washing the containers and lids in hot soapy water to remove any food residues, microorganisms and odours then thoroughly rinse in hot water and allow to drain dry. If prepared earlier than needed cover with a clean dry tea towel, then use one of the following sterilising methods to ensure they are hot dry and ready for use at the bottling stage.
Oven Method
This is my preferred method as it can sterilise a large quantity of containers, I don’t have to empty the dishwasher or deal with juggling containers out of large pots of scoldingly hot water. Different sources suggest a range of different temperature and times. Not all ovens run at the correct temperature. If you know your oven runs either over or under temperature adjust the temperature or time appropriately.
- Remove any rubber seals and lids that can melt or distort while in the oven. Sterilise these using the Boiling Water Method, detailed below.
- Place prepared containers spaced slightly apart, so they are not touching, on a baking tray lined with baking paper.
- Place in a cold oven and heat to 120-140C (250-280F) degrees and leave for 30 minutes. Alternatively preheat the oven to 140C (280F) and leave the containers for 20 minutes.
- At temperatures over 140C, there is a risk of the glass cracking. Unless good quality preserving containers are purchased, it’s difficult to know the glass quality.
- Remove containers from the oven and place on a heat-resistant surface or wire cake rack.
Hot Water Bath Method
This method is easy; however, it can be challenging working over hot water and steam and removing containers without scaling yourself.
- Line the preserving pan or large pot with wet newspaper or a towel. Place the clean containers, lids, and rubber rings on top.
- Completely cover with water. Bring to the boil and simmer for 15 mins. Alternatively pour hot water, not boiling water as they are likely to crack, and proceed as above.
- Turn water off, wait for the water to stop bubbling, carefully remove the containers with a jar lifter or sturdy tongs. Drain upside down on a clean tea towel. Turn upright and allow to air dry.
Dishwasher Method
To use this method your dishwasher must have a high temperature setting of at least 71C (160F) and a sanitising/steam dry cycle. It must be clean and not contain dirty crockery or cutlery.
- Place prepared clean containers, seals, and lids upside down on the top rack. Start the dishwasher on the hottest program and with the steam dry cycle.
- When the cycle has completed, leave the dishwasher closed until the containers and lids are required so they remain hot and dry, ready for bottling.
- This method is ideal for processing a large number of jars quickly and effectively.
Microwave Method
This is a handy method if you need to sterilise a few jars or if you need an extra jar quickly. The number of containers that can be sterilised is dependent upon the internal capacity of the microwave.
- Half fill the prepared clean container with water. Heat on full power until the water inside the jar has boiled for at least 2 minutes.
- Use oven gloves to carefully remove containers and pour off the water. Drain upside down on a clean dry tea towel and then turn upright and leave to dry.
- This method not suitable for sterilising metal lids. Use the Hot Water Bath method.
Chemical Tablets & Solutions Method
I have added this method so you are aware of it, but I cannot recommend it. They are more expensive, are not suitable for delicate flavoured preserves as the chemical may leave a slight taste if the instructions are not strictly adhered to, and the chemicals may cause side effects in some people. If considering these options, I suggest you read the active ingredients on the packaging and conduct your own research. Sodium metabisulphite is the active ingredient in many brewing sterilising products, sodium dichlorisocynaurate is the active ingredient in some sterilising products for babies. However other inorganic products can be used. Sterilising powders and tablets are available in brew shops and in the baby aisles of chemists and supermarkets.
Sterilising lids - Is a different method required?
STERLISING LIDS: BOILING WATER METHOD
- Boil in hot water for 10 mins then remove and completely dry using one of the following methods.
- Place upside down on a baking tray and transfer to a 120C oven until dry.
- Place upside down in dehydrator, 48C until dry.
- Place internal side down on clean dry tea towel until they are completely.
- If they are not completely dry, particularly under the rim of the lid, condensation will form in the jar which encourages mould.
Thinking of sealing a lidless jar with paraffin wax.
Understand more about this method.