Feijoa and Lemon Jam
- Jams, Jellies & Marmalades

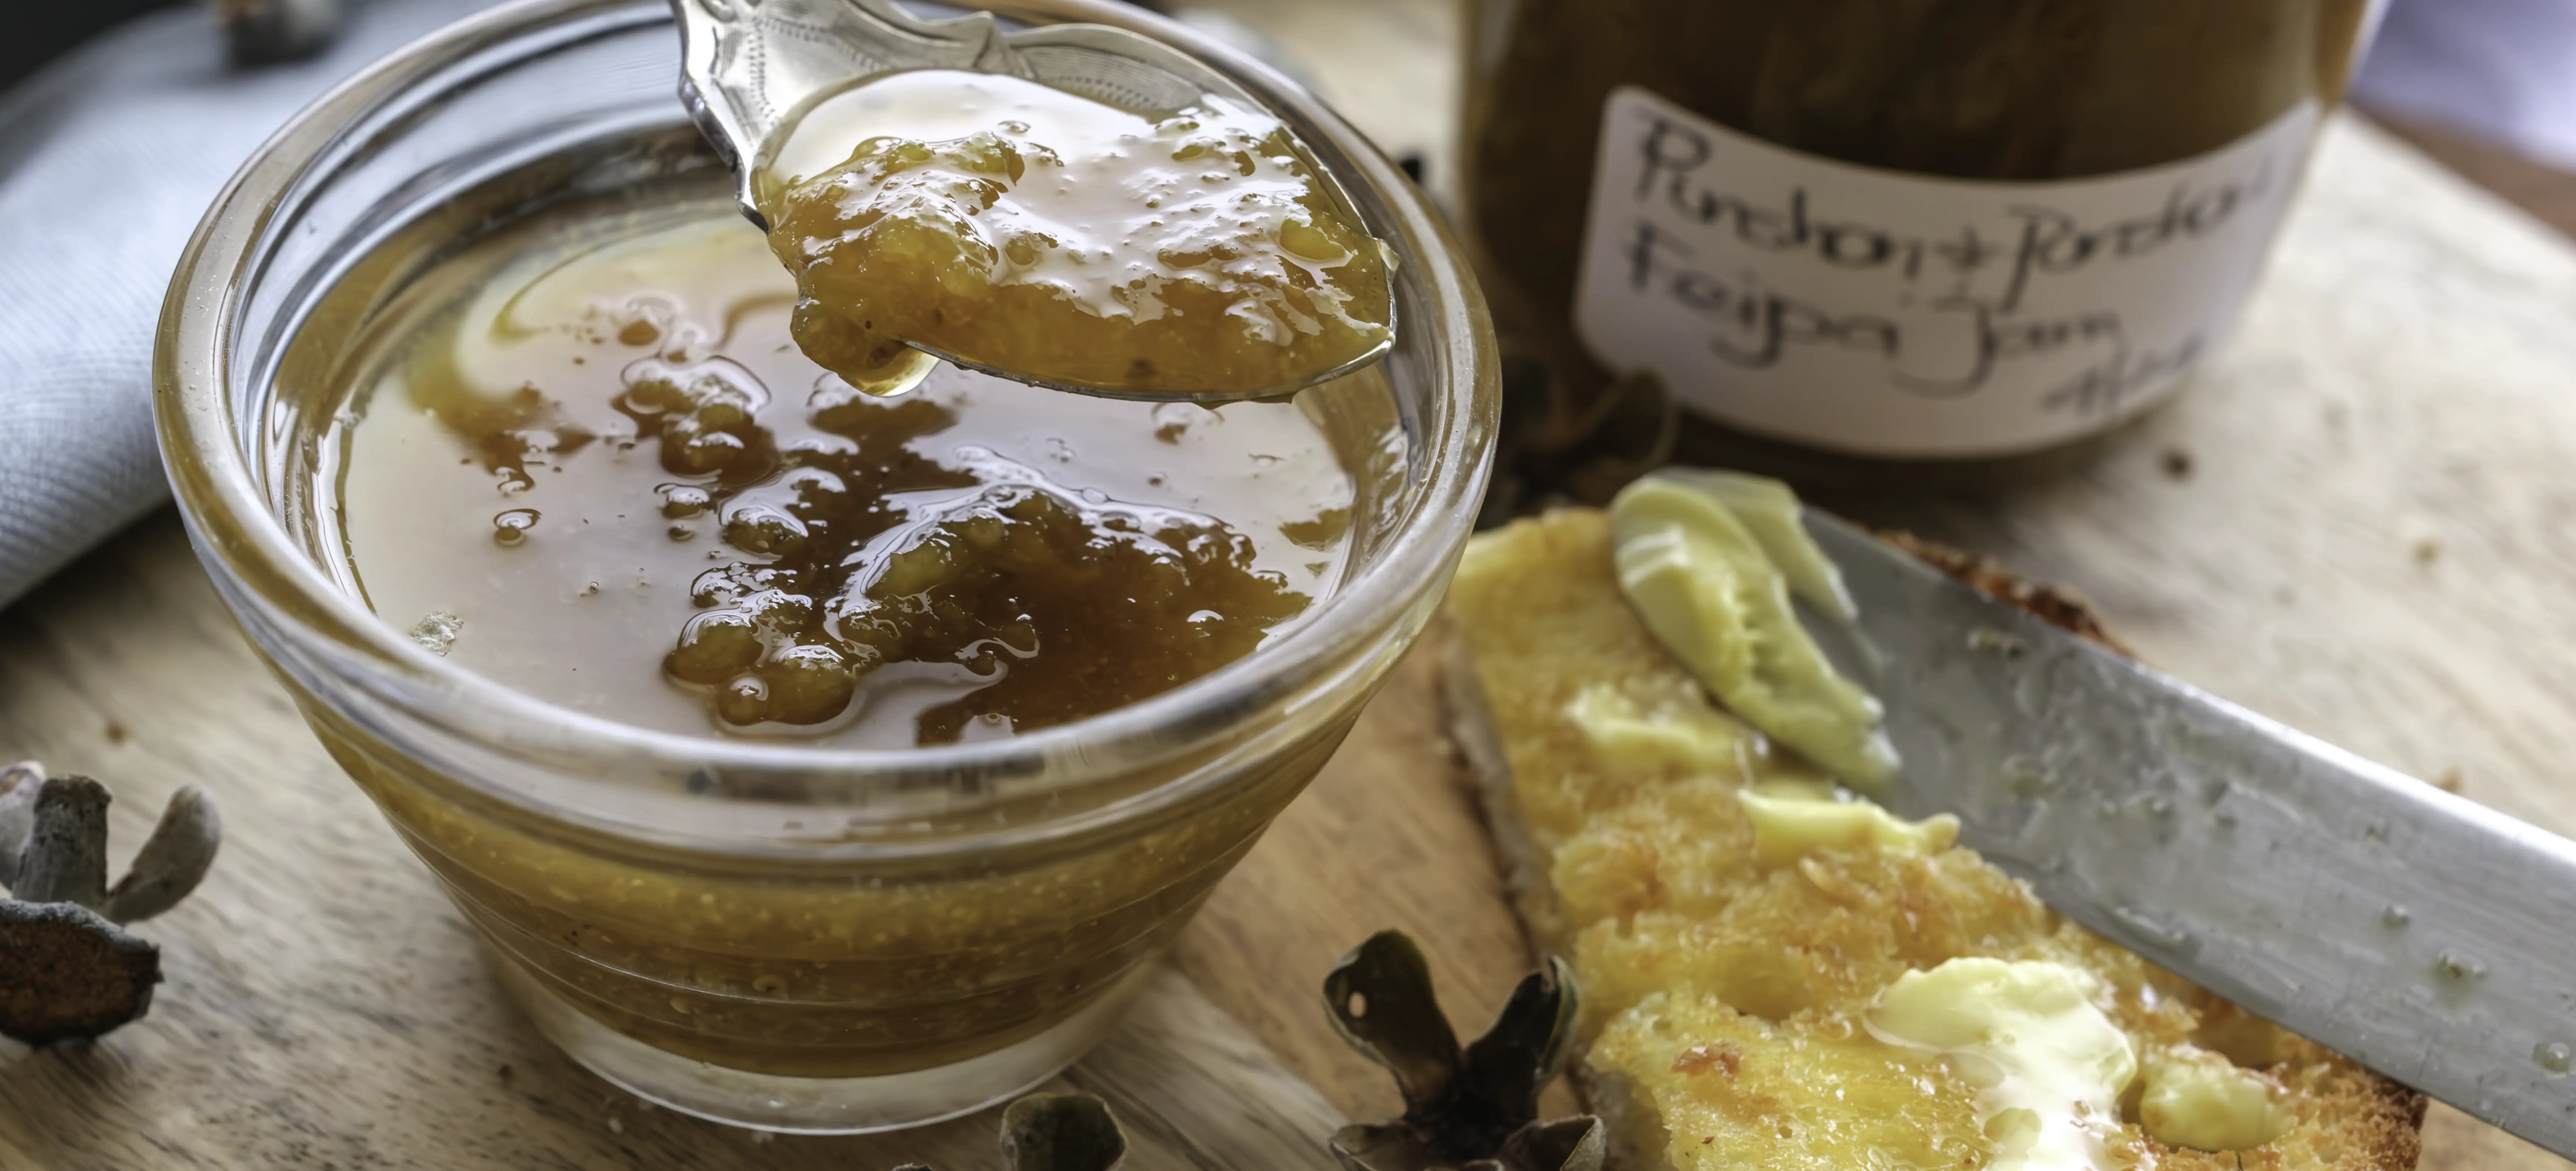
The feijoa shrub is a relatively common ornamental plant in subtropical locations, but its wonderfully tropical fruit flavour and aroma is largely undiscovered. Its green egg-shaped fruit makes tantalising jams and chutneys. Ginger, lemon, pears, apples, dates, cinnamon, and garlic are great flavour combinations. This simple Feijoa and Lemon Jam is the perfect start to kick- off your feijoa adventure.
- Preparation Time:
- 40 minutes
- Cooking Time:
- 45 minutes
- Quantity:
- 4 x 250 ml jars
INGREDIENTS
- 3
- Lemon, medium, ripe
- 750g
- Feijoas, peeled, chopped
- 400 ml
- Water
- 750g
- White sugar
METHOD
 Feijoas oxidise very quickly after being peeled or cut
Zest and juice the lemons keeping them separate. Put aside.
Gently wash and dry the feijoas to remove any garden or shop dust or debris.
Working with each feijoa, remove the bottom and crown end (calyx). Peel and place immediately in the lemon juice to prevent discolouration. Alternatively, cut each fruit in half horizontally, slip a teaspoon between the skin and the flesh and slide it all the way around the fruit. Remove the spoon and the fruit will slip out in one piece. Place in the lemon juice. Discard the empty skin and crown end or empty shells.
Add the water, lemon juice and rind to a stainless-steel preserving pan or a heavy bottom stainless steel pot. Chop each feijoa into quarters and place immediately into the lemon water prepared in the above step. Continue until all the feijoas are chopped.
Place on the heat and gently simmer until the fruit is soft. Add a little more water if it evaporates away.
Add the warmed sugar, stirring occasionally to ensure the sugar is dissolved. Then boil rapidly until the setting point is reached. While the jam is boiling, use a sharp-edged spoon or ladle to remove the scum that accumulates around the edge of the pot as it builds up. Refer to the Notes Section below: Removing the Scum for more information if required.
When the setting point is reached, remove the pan from the heat, place on a heat-resistant board and allow to sit for 5 minutes. If bottled immediately it’s likely the fruit pieces will rise from the bottom of the jar.
Using a wide-necked funnel, ladle into the sterilised hot dry jars to within 2.5 cm (1 inch) from the top, distributing the fruit evenly between the jars.
Seal immediately with hot dry lids. The HHH method of HOT dry jars, HOT dry lids and HOT jam creates a vacuum seal as it cools. The “popping” sound, often heard in the kitchen when this method is used, signals a successfully vacuum sealed jar.
If there are no lids, seal with paraffin wax while the jam is hot. Cover with cellulose or plastic film and secure with a rubber band or kitchen twine. Refer to the Notes Section below: Sealing with Paraffin Wax below for more detailed instructions. Note this method does not provide a safe long term storage solution. Alternatively allow the jam to completely cool and seal with a screw top lid.
The HHH method of sealing is preferred as there is reduced risk of contamination prior to sealing.
-
Once the jars have cooled, wipe down to remove any spillage and label. Store in a cool dark place in the kitchen or pantry.
Allow the jam to mature for at least 2 weeks before eating.
Refrigerate after opening.
NOTES
- Choose ripe but not over ripe or mushy fruit and never use mouldy produce as this produces a poor-quality jam.
- Choose firm ripe feijoas and remove any damaged or bruised fruit. Fresh from the garden, a farmers’ market or from a pick-your-own orchard will provide a more flavourful and aromatic jam.
- If you do not have a preserving pan, use a large heavy bottom pot, preferably stainless steel.
- This will distribute the heat evenly across the pot and the jam while it is cooking. Ensure there is enough space available in the pot for the mixture to double in size while it is rapidly boiling.
- To Warm the Sugar
- Put the recipe quantity in an oven proof container and place in a preheated 150 degrees C oven for approximately 10 minutes. The sugar should be warm throughout the bowl.
- Once added to the hot fruit mix, ensure the sugar has completely dissolved before boiling, otherwise the sugar may crystallise later in the jar.
- Warmed sugar dissolves quickly and then a rapid boil, until the setting point is reached, helps to preserve the fresh fruit flavour. Long slow simmering affects the colour and reduces its flavour.
- Good quality jars should be used in all preserving, particularly when they are processed in a hot water bath. Thin jars often cannot withstand the temperatures and may crack either in the bath or on and or after removal. Avoid the disappointment and invest in some good jars from a homewares or preserves outlet.
- Cooking times are an approximation only.
- They are provided as guidelines as cooking times are influenced by the type of pot and its diameter and height, speed of cooking and fruit ripeness, size, and moisture level.
- Removing the scum
- Jam, jellies, and marmalades can produce a scum while they are boiling. Impurities from the fruit and sugar will rise to the surface and a fine frothy foam will move towards the edge of the preserving pan.
- Some fruits will produce more scum than others.
- This is a natural self-clarification process and makes the task of making a high-quality preserve easier. Removing the scum increases the preserve’s clarity. This is very important if it is being submitted for competition.
- Remove the scum before bottling. Using a stainless-steel spoon, skim the scum from around the edge of the preserving pan.
- Be careful to remove just the scum and not the jam. This can be done while the jam is boiling and/or once it has been taken off the heat.
- Do not attempt to remove the scum from the centre of the boiling jam, as there is an elevated risk the jam will splutter and hot jam burns.
- Oxidation
- Oxygen in the air, can cause some fruit and vegetable to turn brown when they are sliced, smashed, or damaged. Food is comprised of many natural chemical components including enzymes.
- These reside in the cell walls and when damaged the enzymes, particularly phenolase, which triggers the browning, is exposed to the air causing the flesh to turn brown. This process of oxidation is caused enzymic browning. To prevent this from occurring, the phenolase enzymes must be treated with heat or an edible based acid.
- Lemon juice is often used as its acid content stops the enzymes from working. In this recipe, the lemon juice acts as a flavour enhancer and to prevent the enzymic browning/oxidation. That’s why the instructions call for the feijoa’s to be dropped into the lemon juice immediately after they are individually prepared
- Sealing with Paraffin Wax
- Paraffin wax is available in speciality preserving and some rural hardware stores.
- The melted wax must be poured over the preserve while both are hot.
- Break the wax into small pieces and heat in a bowl set over a pan of hot water. Bring the water to the boil, reduce the heat to maintain a gentle simmer until the wax is just melted.
- Do not overheat. If it gets too hot it will shrink away from the sides of the preserving jar as it cools. This will break the seal and allow impurities to access the contents, encouraging mould growth.
- Working quickly, pour a thin layer over the hot preserve. Using a small wooden cocktail stick, toothpick, or cake skewer, prick any air bubbles.
- Allow the wax to set. Then pour a second thin layer to make a seal approximately 3mm thick.
- When set it will become opaque and dip slightly in the middle.
- Cover the jar with a cellophane disc and secure with a rubber band/kitchen twine.
- To use the preserve, break the wax seal and remove. Discard or wash thoroughly, dry and re-use later as required.
- Sealing with wax is not a long-term storage solution. Use within a couple of months. Once opened store in the fridge.
- Feijoa’s: Some facts about this undiscovered and undervalued fruit.
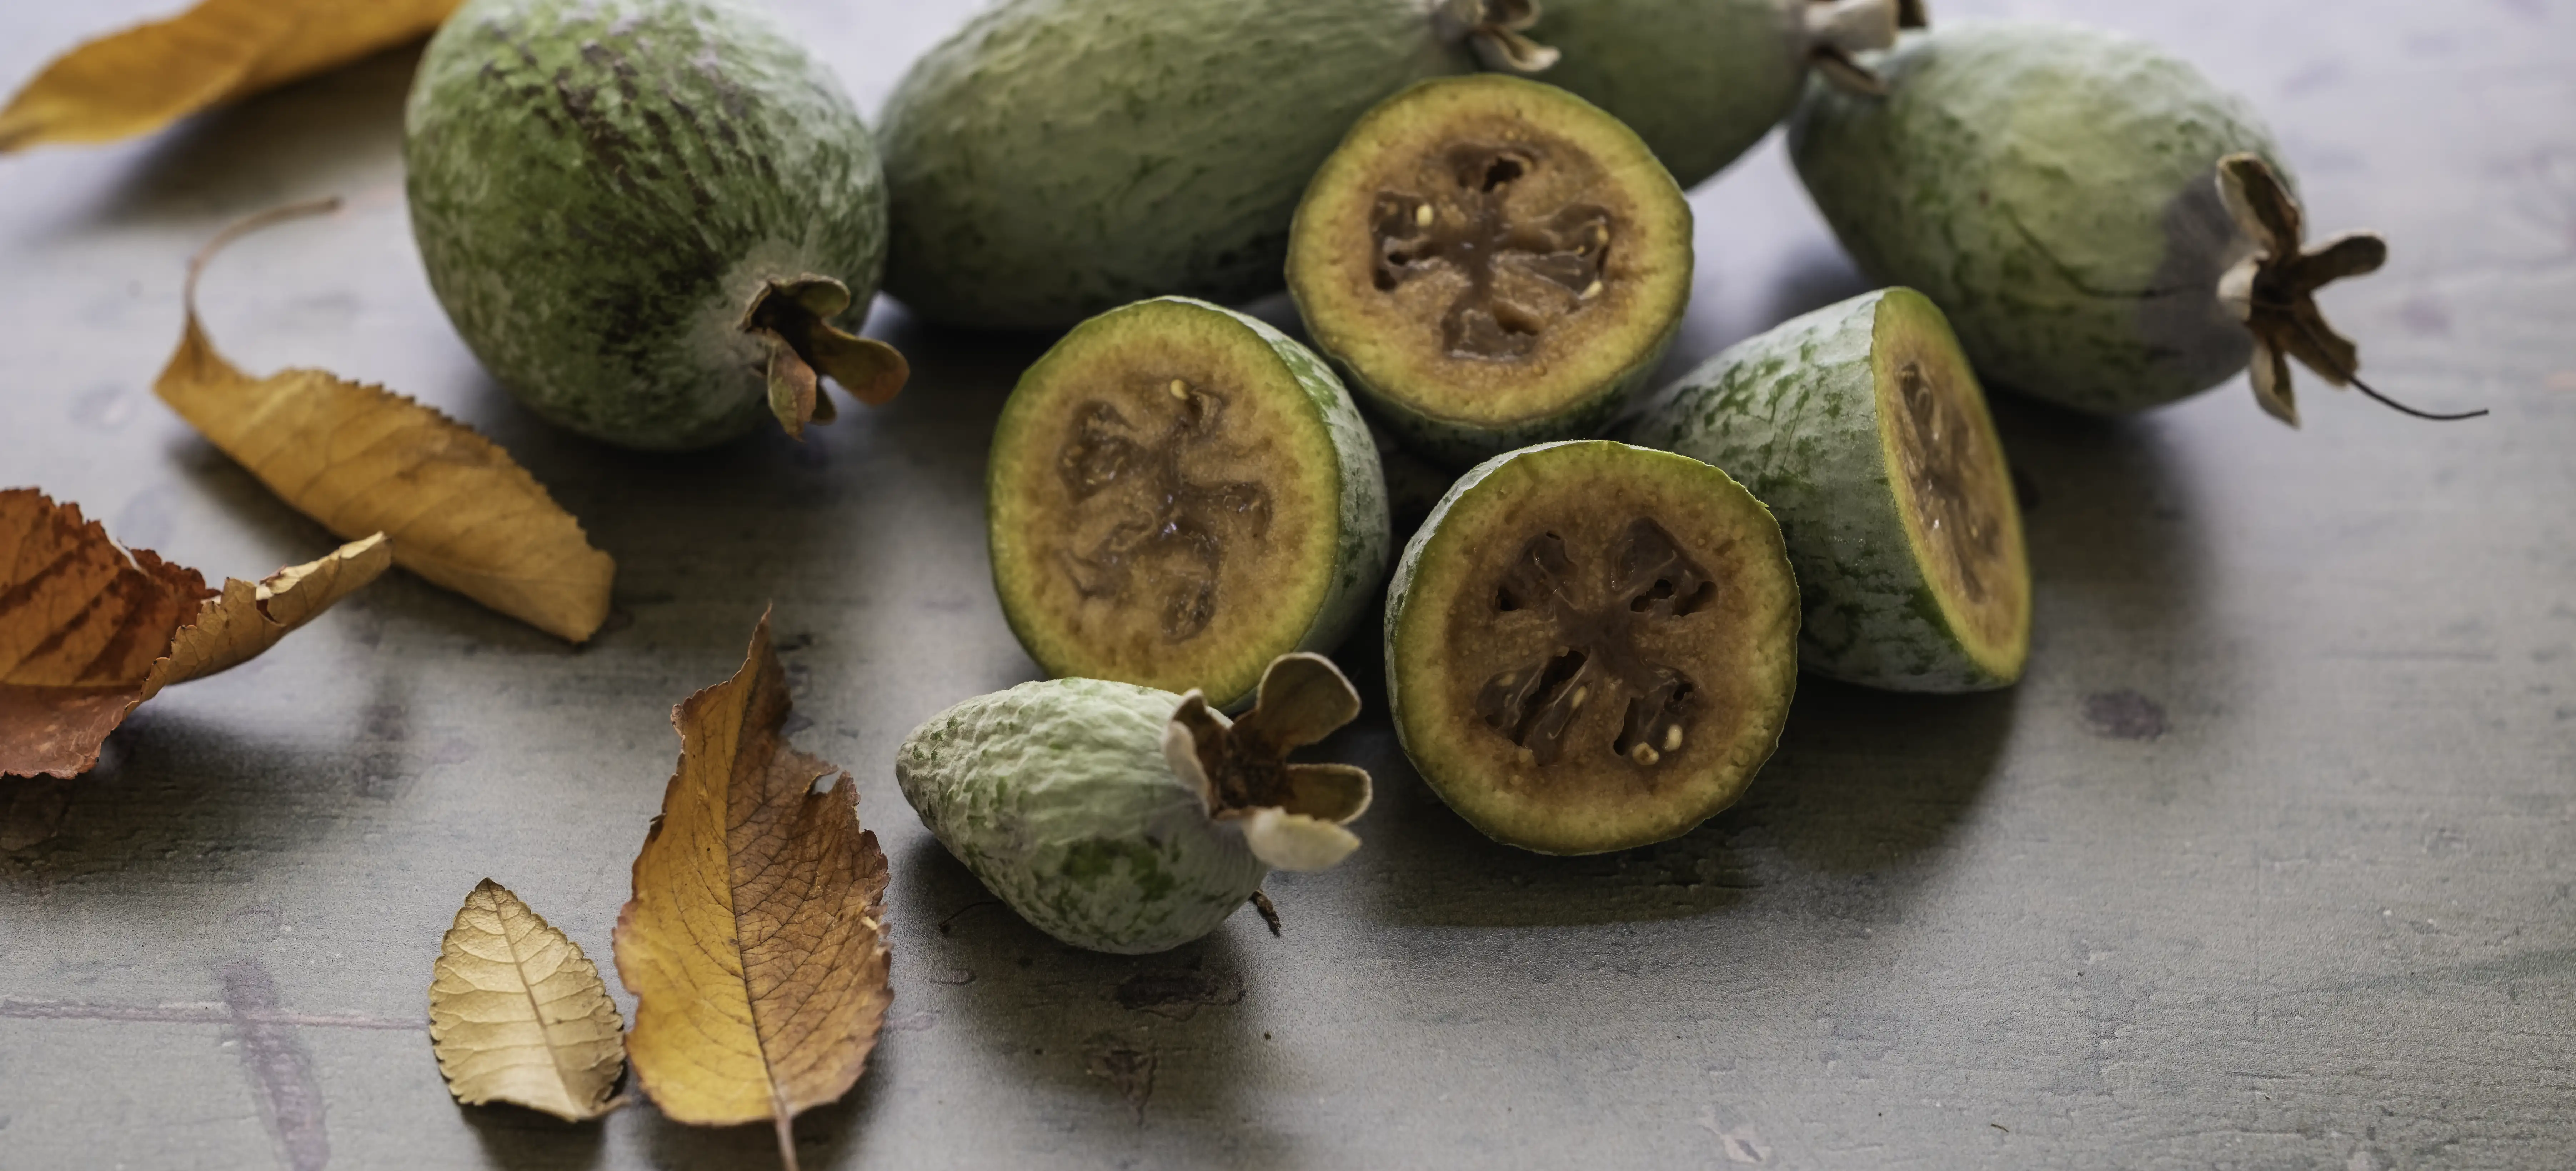
- The egg-shaped fruit remains green even when it’s ripe. They will ripen a little more once picked, however, if picked too underripe they will not ripen.
- Its flesh is made of two components. The central jelly-like flesh is off white in colour and is full of many tiny seeds. The outer flesh has a more solid texture. In inferior plant varieties, this outer flesh can be quite gritty.
- The are different varieties which ripen at various times over the late summer-early autumn months.
- Feijoas are high in pectin which is an essential setting agent in jams and jellies. Learn more about this in my article What Makes Jams and Jellies Set
- They are native to the mountains of southern Brazil, northern Argentina, western Paraguay, and Uruguay.
- Feijoa is also called pineapple guava, Brazilian guava, fig guava, guavasteen in Hawaii and New Zealand banana.
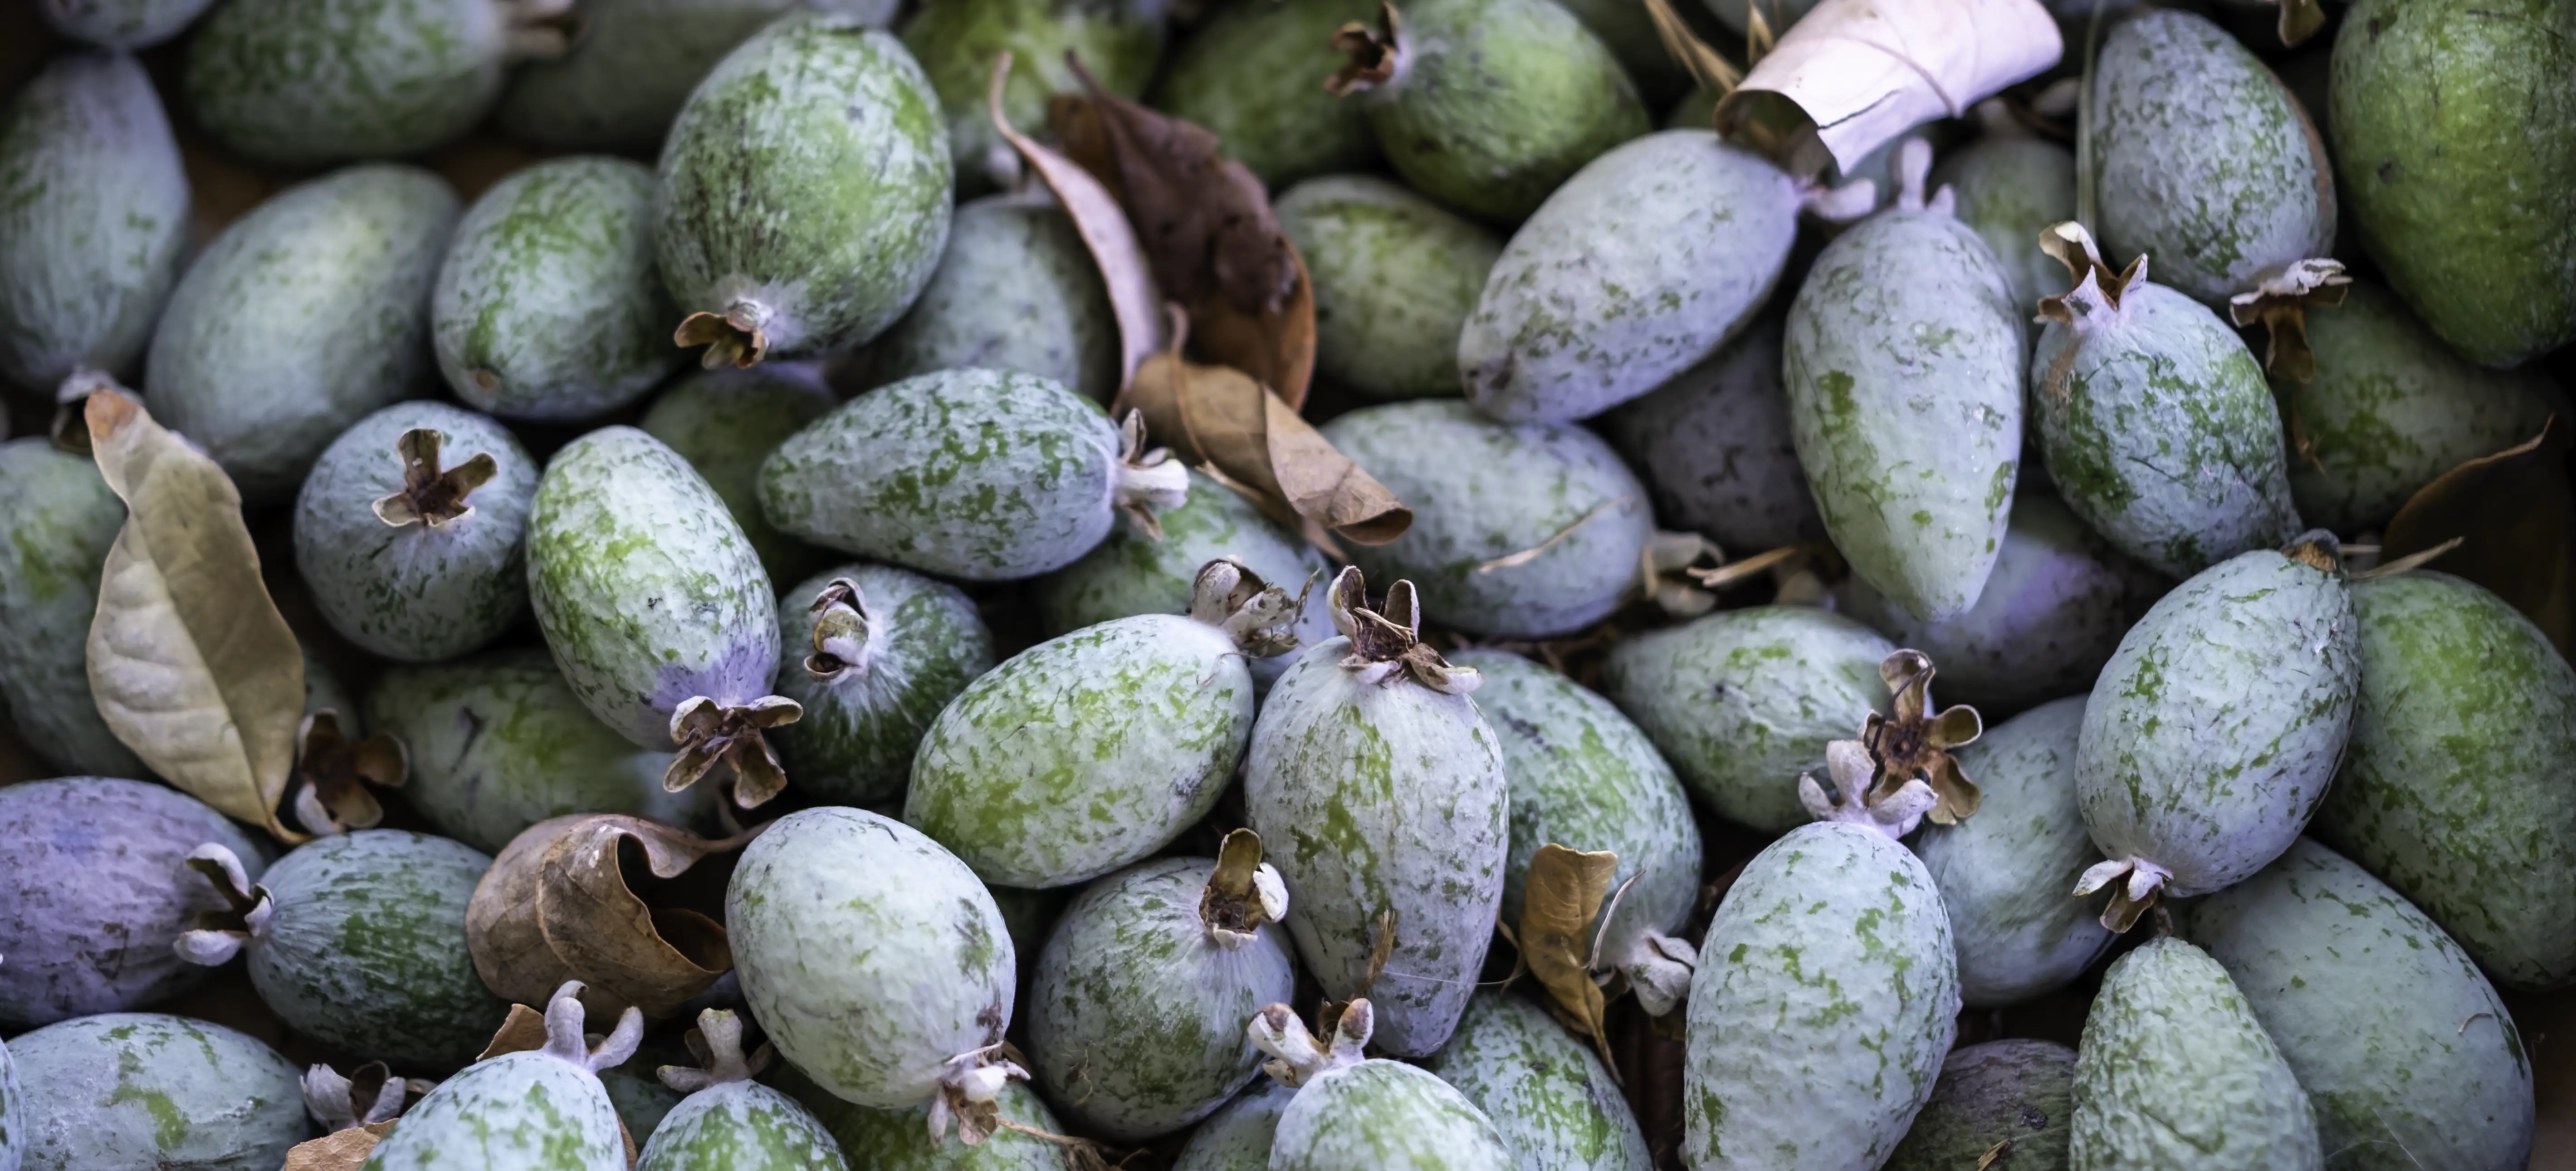
 A tray of autumn feijoas from our neighbours garden
